Google map is used to locate an address, navigate, and search location in the mobile devices. The Google Maps shows the location (latitude and longitude) using dot Marker. In the react-native, Google Maps is easily integrated using react-native-maps npm library. To use Google Maps in our application, we need to authenticate the Google Maps API.
1. Create the react-native project
Create the react-native project and install the react-native-maps library using the below command
- npm install -save react-native-maps

After successful execution of the above code, it installs the react-native-maps library, which can be seen in package.json file.
2. Generate Google Maps authentication API key from the Google Developer Console
2.1 To use Google Maps in our application, we need to generate and authenticate the Google Maps API key. Login to
https://console.developers.google.com/ with your google mail account and create a new project.
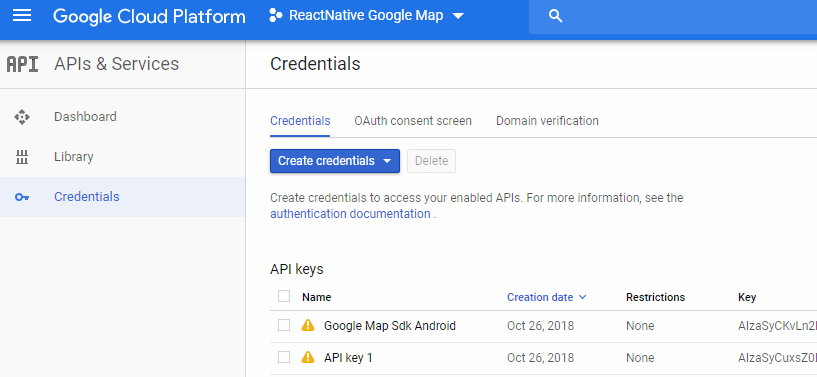
2.2 Now, click on API and Services -> Credentials -> Create credentials to create API credentials.
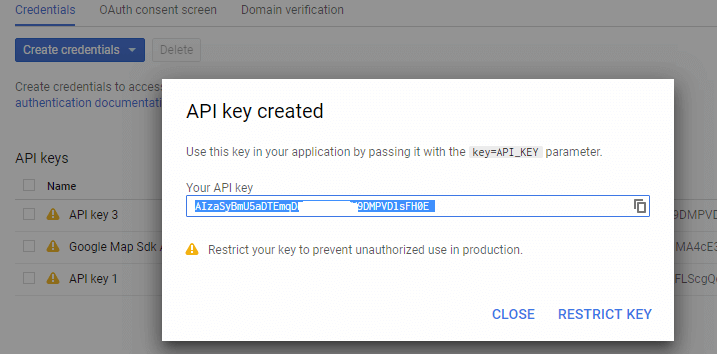
2.3 It will pop up your API key with message API key created.
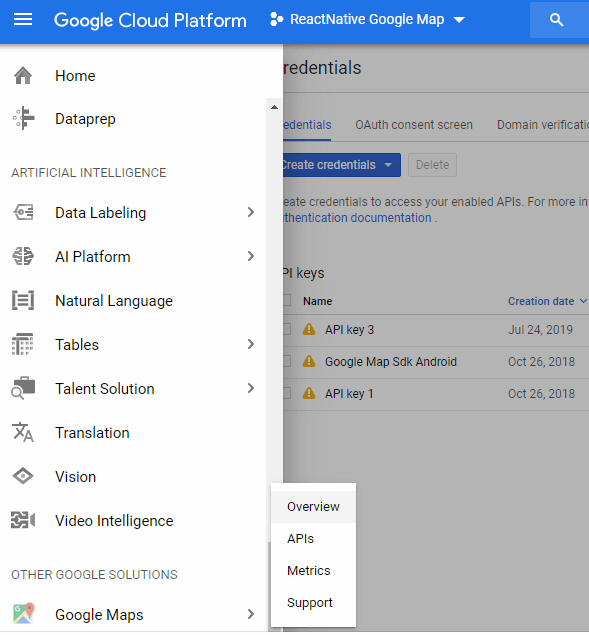
2.4 To see an overview of your API key, click Google Maps -> Overview.
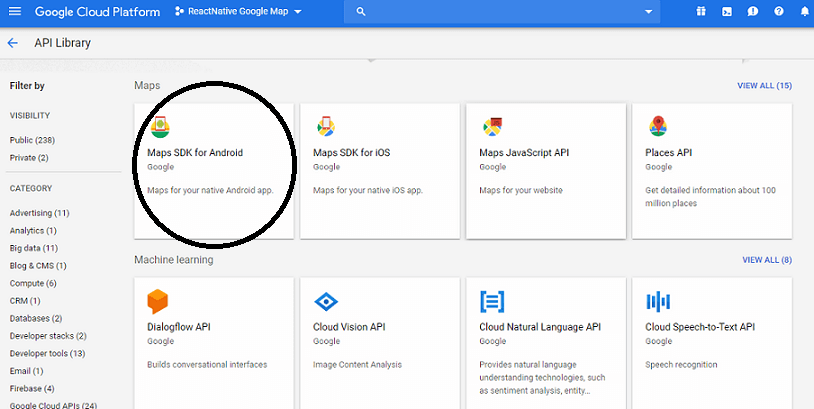
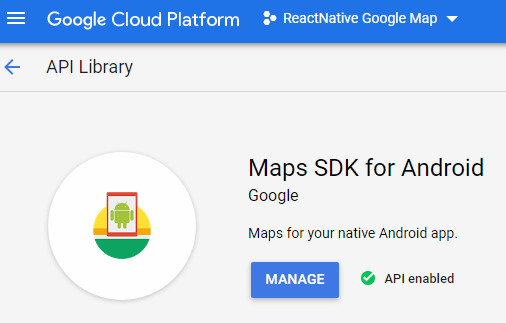
2.5 Now, go to API Library and select Maps SDK for Android to enable the Map API
3. Open your project_name -> android -> setting.gradle file and add the below code:
- include ':react-native-maps'
- project(':react-native-maps').projectDir = new File(rootProject.projectDir, '../node_modules/react-native-maps/lib/android')
4. Again open your project_name ->android -> build.gradle file and add the below code in dependencies block.
- implementation project(':react-native-maps')
5. Go to project_name -> android ->app->src->main->java->com->project_name-> MainApplication.java and add the below code:
- import com.airbnb.android.react.maps.MapsPackage;
- ...
- new MapsPackage()
MainApplication.java
- package com.maps;
- import android.app.Application;
- import com.facebook.react.ReactApplication;
- import com.airbnb.android.react.maps.MapsPackage;
- import com.facebook.react.ReactNativeHost;
- import com.facebook.react.ReactPackage;
- import com.facebook.react.shell.MainReactPackage;
- import com.facebook.soloader.SoLoader;
- import com.airbnb.android.react.maps.MapsPackage;
- import java.util.Arrays;
- import java.util.List;
-
- public class MainApplication extends Application implements ReactApplication {
- private final ReactNativeHost mReactNativeHost = new ReactNativeHost(this) {
- @Override
- public boolean getUseDeveloperSupport() {
- return BuildConfig.DEBUG;
- }
- @Override
- protected List<ReactPackage> getPackages() {
- return Arrays.<ReactPackage>asList(
- new MainReactPackage(),
- new MapsPackage()
- );
- }
- @Override
- protected String getJSMainModuleName() {
- return "index";
- }
- };
- @Override
- public ReactNativeHost getReactNativeHost() {
- return mReactNativeHost;
- }
- @Override
- public void onCreate() {
- super.onCreate();
- SoLoader.init(this, false);
- }
6. In your project_name -> android -> app -> src -> main ->AndroidManifest.xml file add the below code inside application tag.
- <meta-data
- android:name="com.google.android.geo.API_KEY"
- android:value="Your_Google_API_Key"/>
7. Import the MapView and Marker component from react-native-maps library in App.js file.
MapView: It is used to display the MapView component in the project.
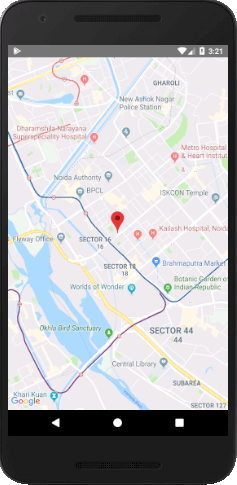
Marker: It is used to show the red round mark to pinpoint the exact location in Google Maps.
App.js
- import React, { Component } from 'react';
- import { StyleSheet, View } from 'react-native';
- import MapView from 'react-native-maps';
- import { Marker } from 'react-native-maps';
-
- export default class App extends Component {
- render() {
- return (
- <View style={styles.MainContainer}>
-
- <MapView
- style={styles.mapStyle}
- showsUserLocation={false}
- zoomEnabled={true}
- zoomControlEnabled={true}
- initialRegion={{
- latitude: 28.579660,
- longitude: 77.321110,
- latitudeDelta: 0.0922,
- longitudeDelta: 0.0421,
- }}>
-
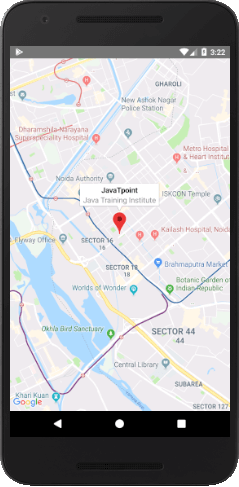
- <Marker
- coordinate={{ latitude: 28.579660, longitude: 77.321110 }}
- title={"JavaTpoint"}
- description={"Java Training Institute"}
- />
- </MapView>
-
- </View>
- );
- }
- }
-
- const styles = StyleSheet.create({
- MainContainer: {
- position: 'absolute',
- top: 0,
- left: 0,
- right: 0,
- bottom: 0,
- alignItems: 'center',
- justifyContent: 'flex-end',
- },
- mapStyle: {
- position: 'absolute',
- top: 0,
- left: 0,
- right: 0,
- bottom: 0,
- },
- });
Output:


Comments
Post a Comment
Thank You.