Splash Screen is a view which contains Text or Images that shows when the app first starts. It is used when the mobile app requires essential information before its start. The application may load the information from some external API or local storage.
Without that information, the application may not be able to display the user interface. For example, the application requires checking whether the user is authorized and deciding which screen is to display.
The Splash Screen will automatically hide after a few seconds (3-5) from the screen and display when the application starts next time.
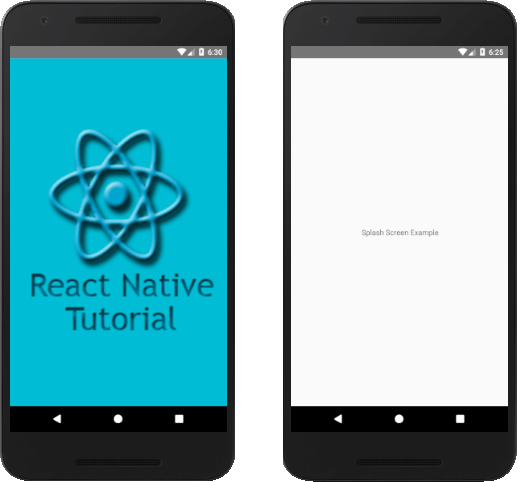
Splash Screen Example
- Import Platform, StyleSheet, View, Text, Image, TouchableOpacity, and Alert components in your project.
- Create constructor() in the project and make a Boolean type state named as isVisible and set its default value true. This state is used to show and hide the Splash screen.
- Create a function named as Hide_Splash_Screen(). It changes the state value as false.
- Create componentDidMount() method in your class. It is an inbuilt method and called when the app fully loaded. In the same method, we can use the setTimeout() JavaScript function to change the state after a given time.
App.js
Output:
Comments
Post a Comment
Thank You.