TextInput is the fundamental component to input text. It has several props which configure the different features, such as onChangeText that takes a function and call it whenever the text changed. The onSubmitEditing prop takes a function, which is called when the text submitted.
There are several things, which can be performed with text input, such as validating the text inside while user types.
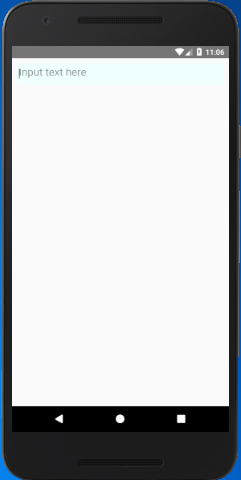
React Native TextInput Example 1
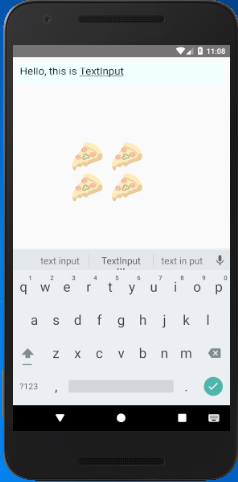
In this example, we create a TextInput and perform an onChangeText action. At every text change, it calls the setState and checks the condition of a split. If the input text found ' ' space, it displays '🍕' in the text. The text is placed in state as it is changed every time.
Output
TextInput properties
| allowFontScaling | autoCapitalize | autoCorrect | autoFocus |
| blurOnSubmit | caretHidden | clearButtonMode | clearTextOnFocus |
| contextMenuHidden | dataDetectorTypes | defaultValue | disableFullscreenUI |
| editable | enablesReturnKeyAutomatically | inlineImageLeft | inlineImagePadding |
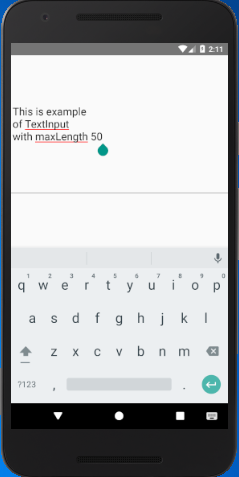
| keyboardAppearance | keyboardType | maxLength | multiline |
| numberOfLines | onBlur | onChange | onChangeText |
| onContentSizeChange | onEndEditing | onFocus | onKeyPress |
| onLayout | onScroll | onSelectionChange | onSubmitEditing |
| placeholder | placeholderTextColor | returnKeyLabel | returnKeyType |
| scrollEnabled | secureTextEntry | selection | selectionColor |
| selectionColor | selectionState | selectTextOnFocus | spellCheck |
| textContentType | style | textBreakStrategy | underlineColorAndroid |
The method .focus() and .blur() are exposed from the native element. These methods focus or blur the TextInput programmatically.
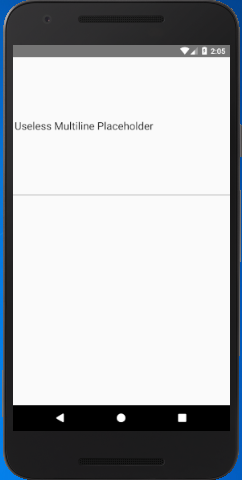
Multiline TextInput
The multiline props provide facility to input multiple lines of text. Some props of TextInput are only compatible with multiline, for example, multiline={true/false}. The property borderButtomColor will not work if multiline = false.
React Native TextInput Example 2
Output:
Comments
Post a Comment
Thank You.