In this tutorial we’ll be working in the platform IDEs and writing a bit of native code. Don’t worry, I’ll walk you through everything. The final code is available on Github.
I’ll be starting by creating a new React Native app
react-native init SplashExample.Protip: Set up source control before following along! Not only is it a good way to revert changes when you make a mistake but it’s also a great way to see exactly what changed to enable the splash screen.
Splash Screen Assets
In a previous version of this tutorial I showed how to simply use a large image to create the splash screen. This can have issues scaling between the ever growing number of screen resolutions.
So, instead, we’ll start with a single image that looks a lot like our icon. The idea here is two fold:
- Make it look like the icon the user taps grows to fill the entire screen making for a seamless transition.
- Keep it simple. A splash screen should only show for a few milliseconds. It shouldn’t have a lot of information on it — it is, after all, a dreaded loading screen.
With all of this in mind we’ll start with a a square image at three sizes (@1x = 200px, @2x = 400px, @3x = 600px).
You can get those images from Github.


Preparing the App
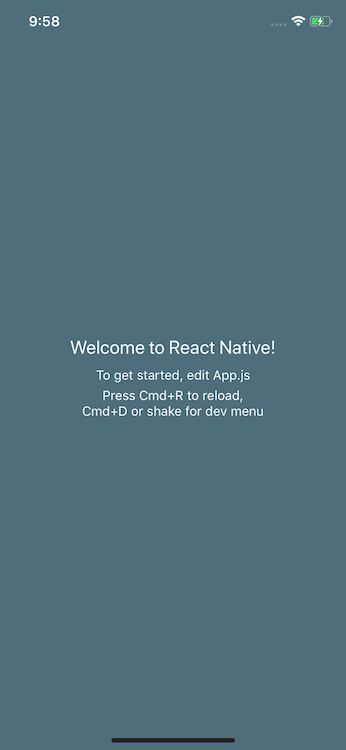
If you’ve tried to set up a splash screen in React Native then you may have experience a white screen flash before your content loads. If your app has a white background this is often not very noticable, but it’s still a pain. Today we’re going to make it very noticable if we have any flashes of white. To do that we’ll set a dark background color in our app.
Replace
App.js withimport React, { Component } from 'react';
import {
Platform,
StyleSheet,
Text,
View,
StatusBar
} from 'react-native';
const instructions = Platform.select({
ios: 'Press Cmd+R to reload,\n' +
'Cmd+D or shake for dev menu',
android: 'Double tap R on your keyboard to reload,\n' +
'Shake or press menu button for dev menu',
});
export default class App extends Component {
render() {
return (
<View style={styles.container}>
<StatusBar
barStyle="light-content"
backgroundColor="#4F6D7A"
/>
<Text style={styles.welcome}>
Welcome to React Native!
</Text>
<Text style={styles.instructions}>
To get started, edit App.js
</Text>
<Text style={styles.instructions}>
{instructions}
</Text>
</View>
);
}
}
const styles = StyleSheet.create({
container: {
flex: 1,
justifyContent: 'center',
alignItems: 'center',
backgroundColor: '#4F6D7A',
},
welcome: {
fontSize: 20,
textAlign: 'center',
margin: 10,
color: '#F5FCFF',
},
instructions: {
textAlign: 'center',
color: '#F5FCFF',
marginBottom: 5,
},
});
All this did was set the background color to
#4F6D7A, the text color to #F5FCFF, and use light text in the status bar.
Adding Splash Screens (iOS)
First open the project in Xcode.
open ios/SplashExample.xcodeproj
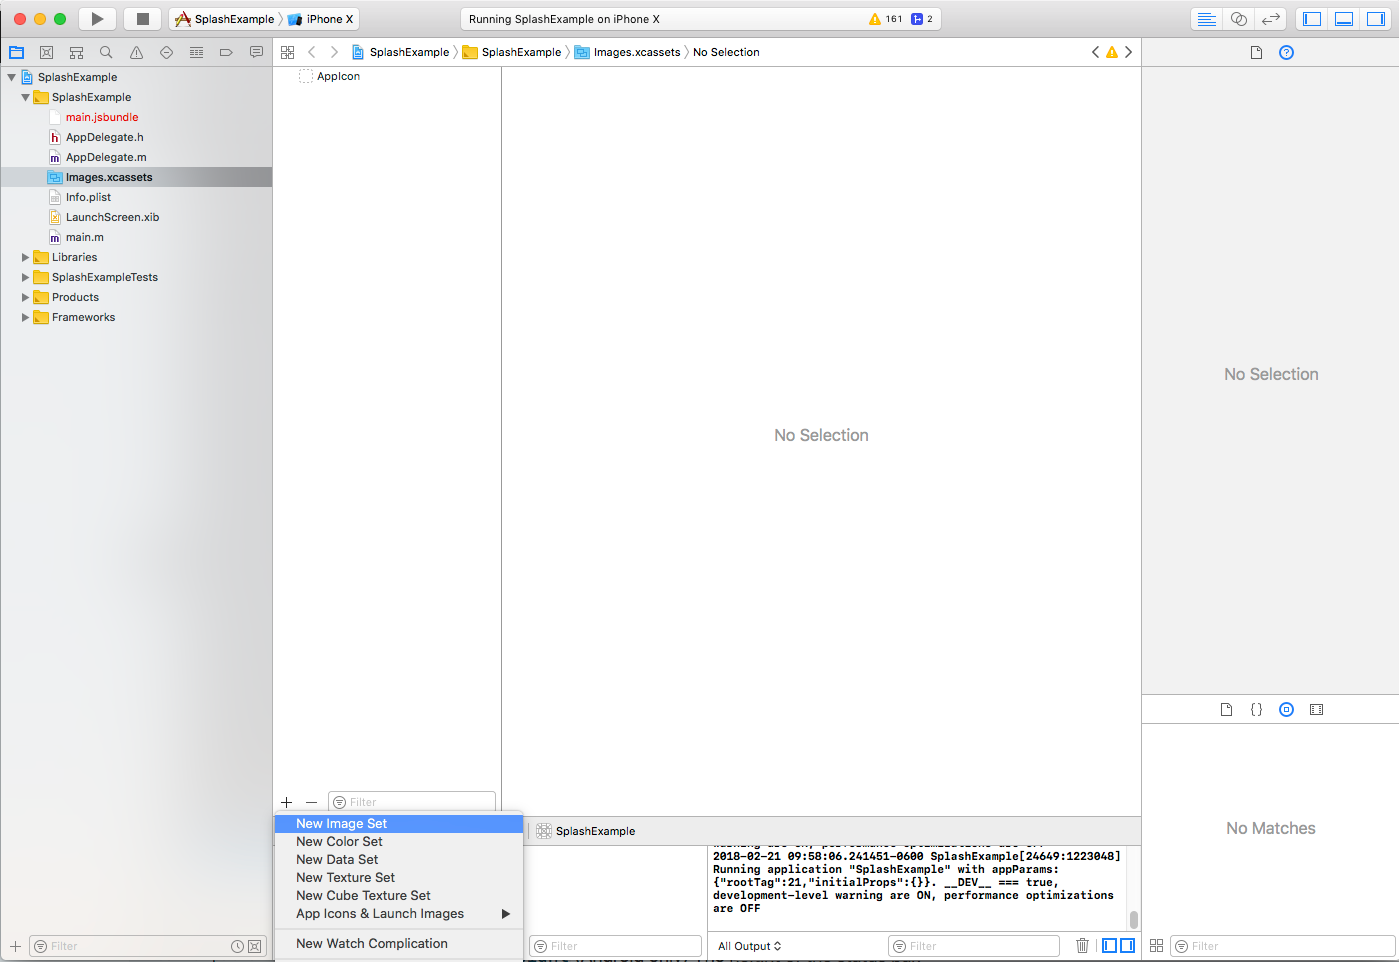
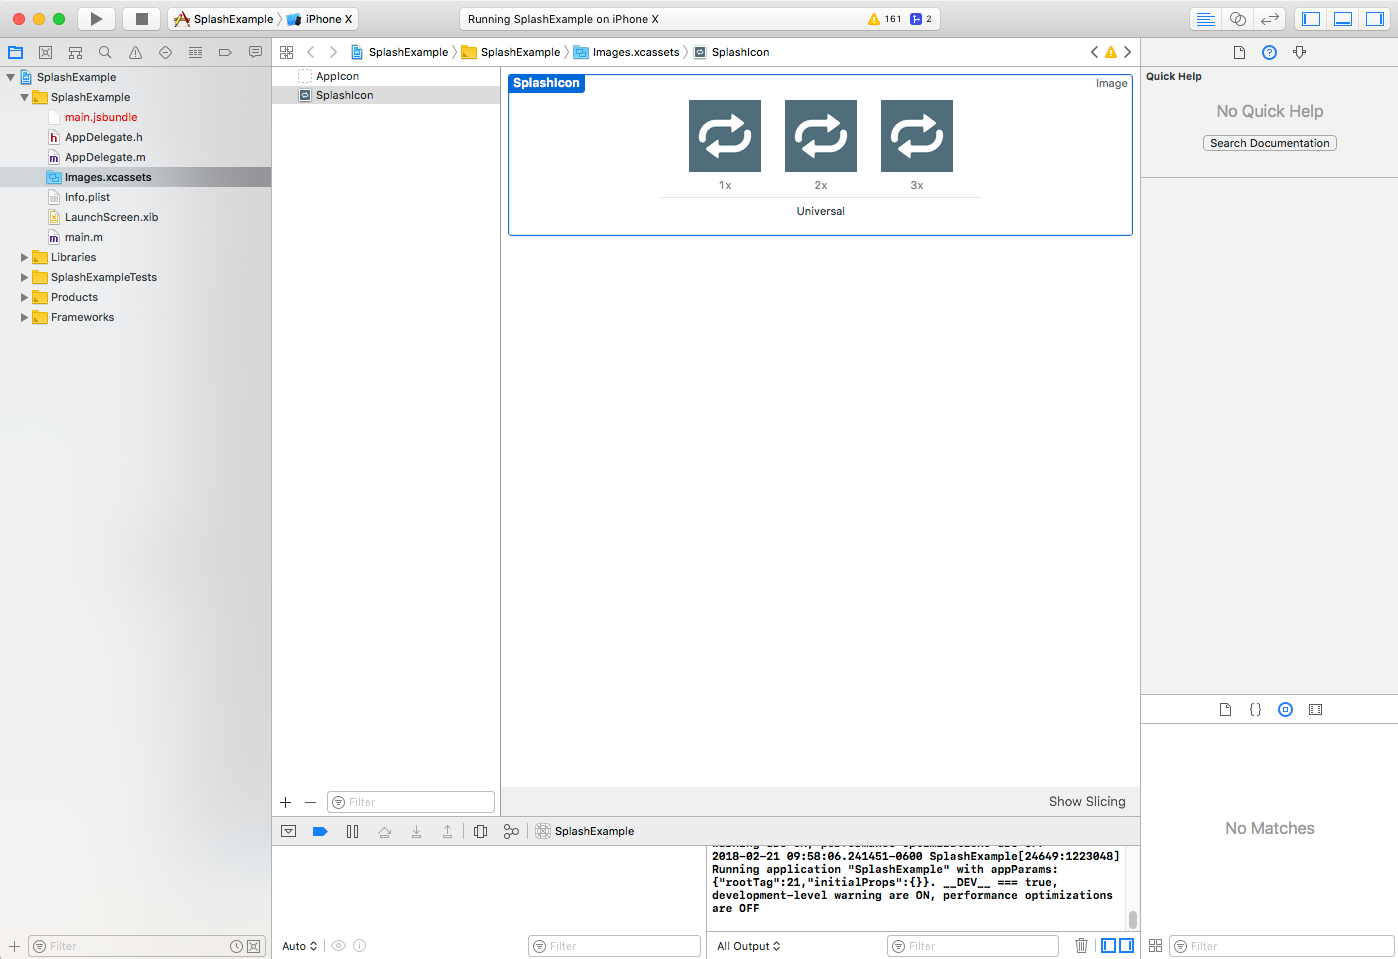
We then want to add a new image asset inside of Xcode. You can access that in the left navigator — SplashExample > SplashExample > Imagex.xcassets and then pressing the “+” in the second left most navigator. Call it “SplashIcon”

Then go ahead and add the three images you downloaded earlier. They’ll automatically attach themselves to the right pixel density.

You can then open
LaunchScreen.xib, again available in the left most navigator. You should see this.

Select the two text elements (“SplashExample” and “Powered by React Native”) and delete them.
Next we’ll set the background color of the View. Select “View” in the second left most navigator. Then, in the right most navigator, choose “Background” which will pop up a picker dialog.


Protip: It took me forever to find this but if you choose the second option in the color picker and then choose “RGB Sliders” you can then enter a hex value.

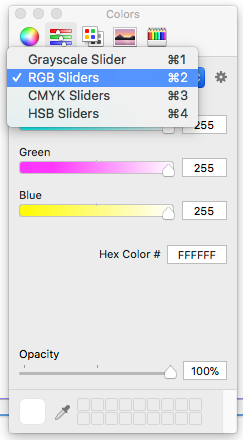
Go ahead and set the background color to
#4F6D7A.
We then want to add an Image View to our splash screen. You can find that by pressing the third option in the bottom right menu and searching for “image”. When you’ve got that drag it onto the blue View.

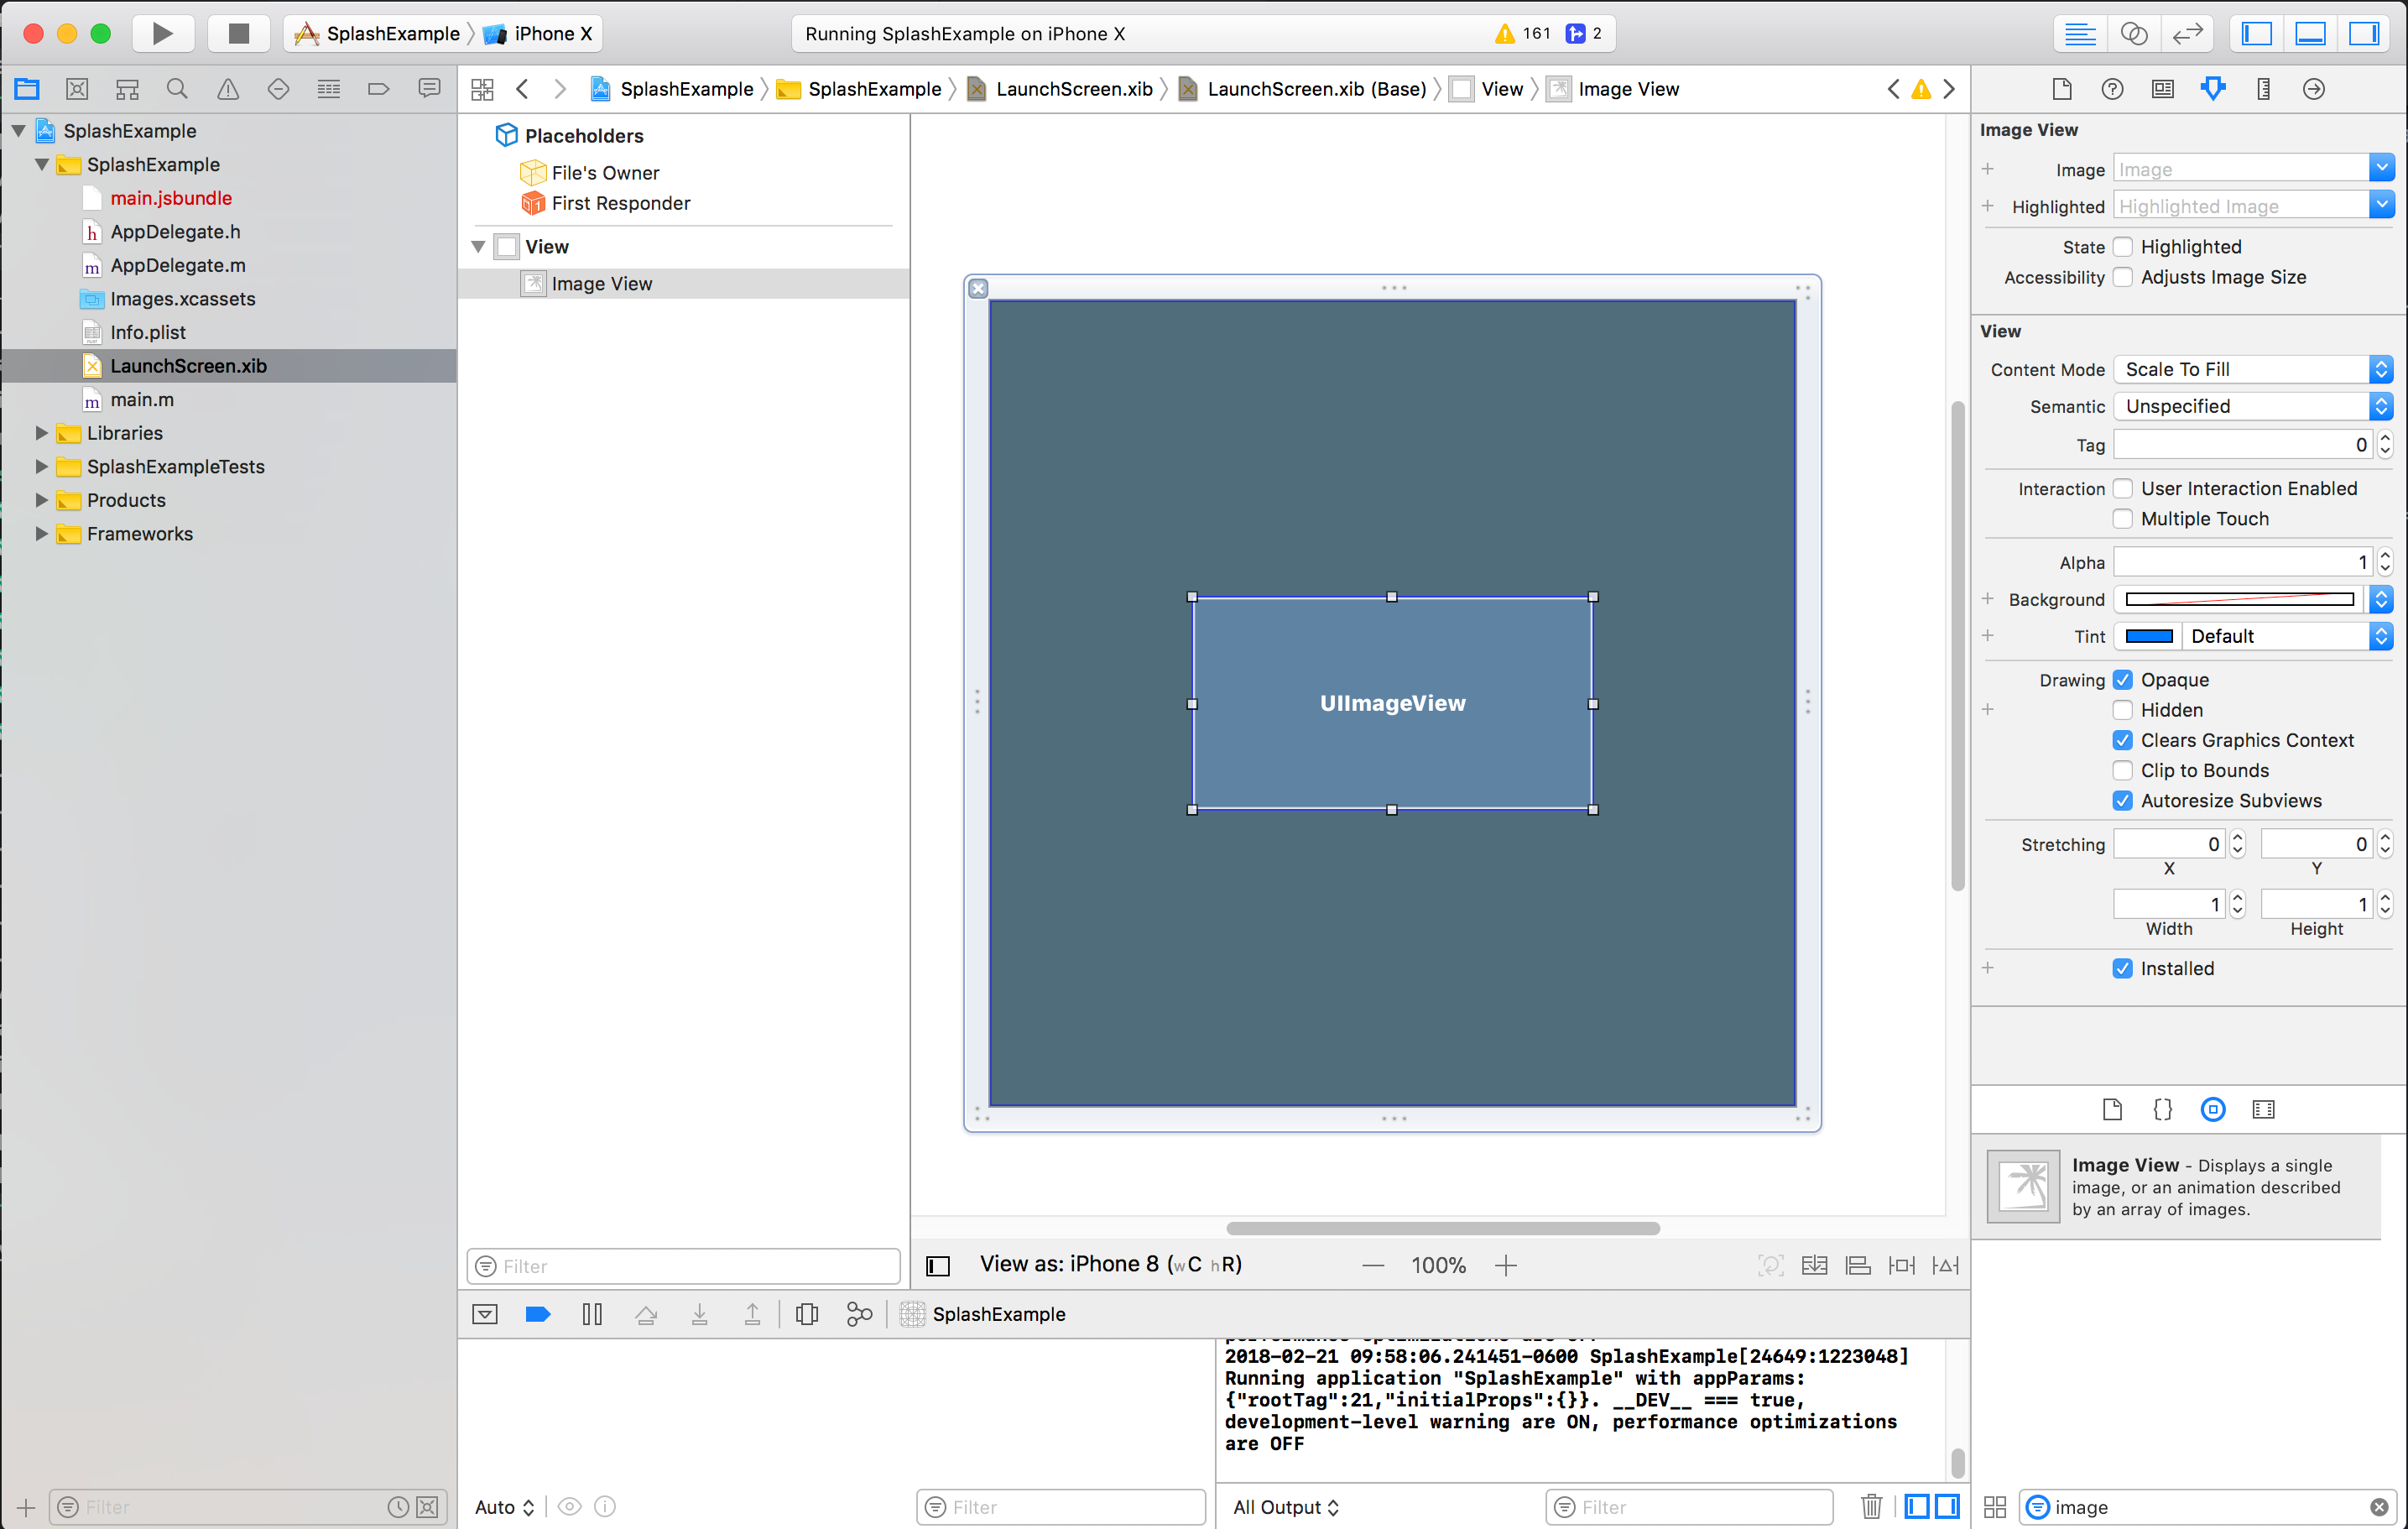
You then want to set the image source from the top right. When you select the image dropdown any images from Images.xcassets should show up — choose SplashIcon.

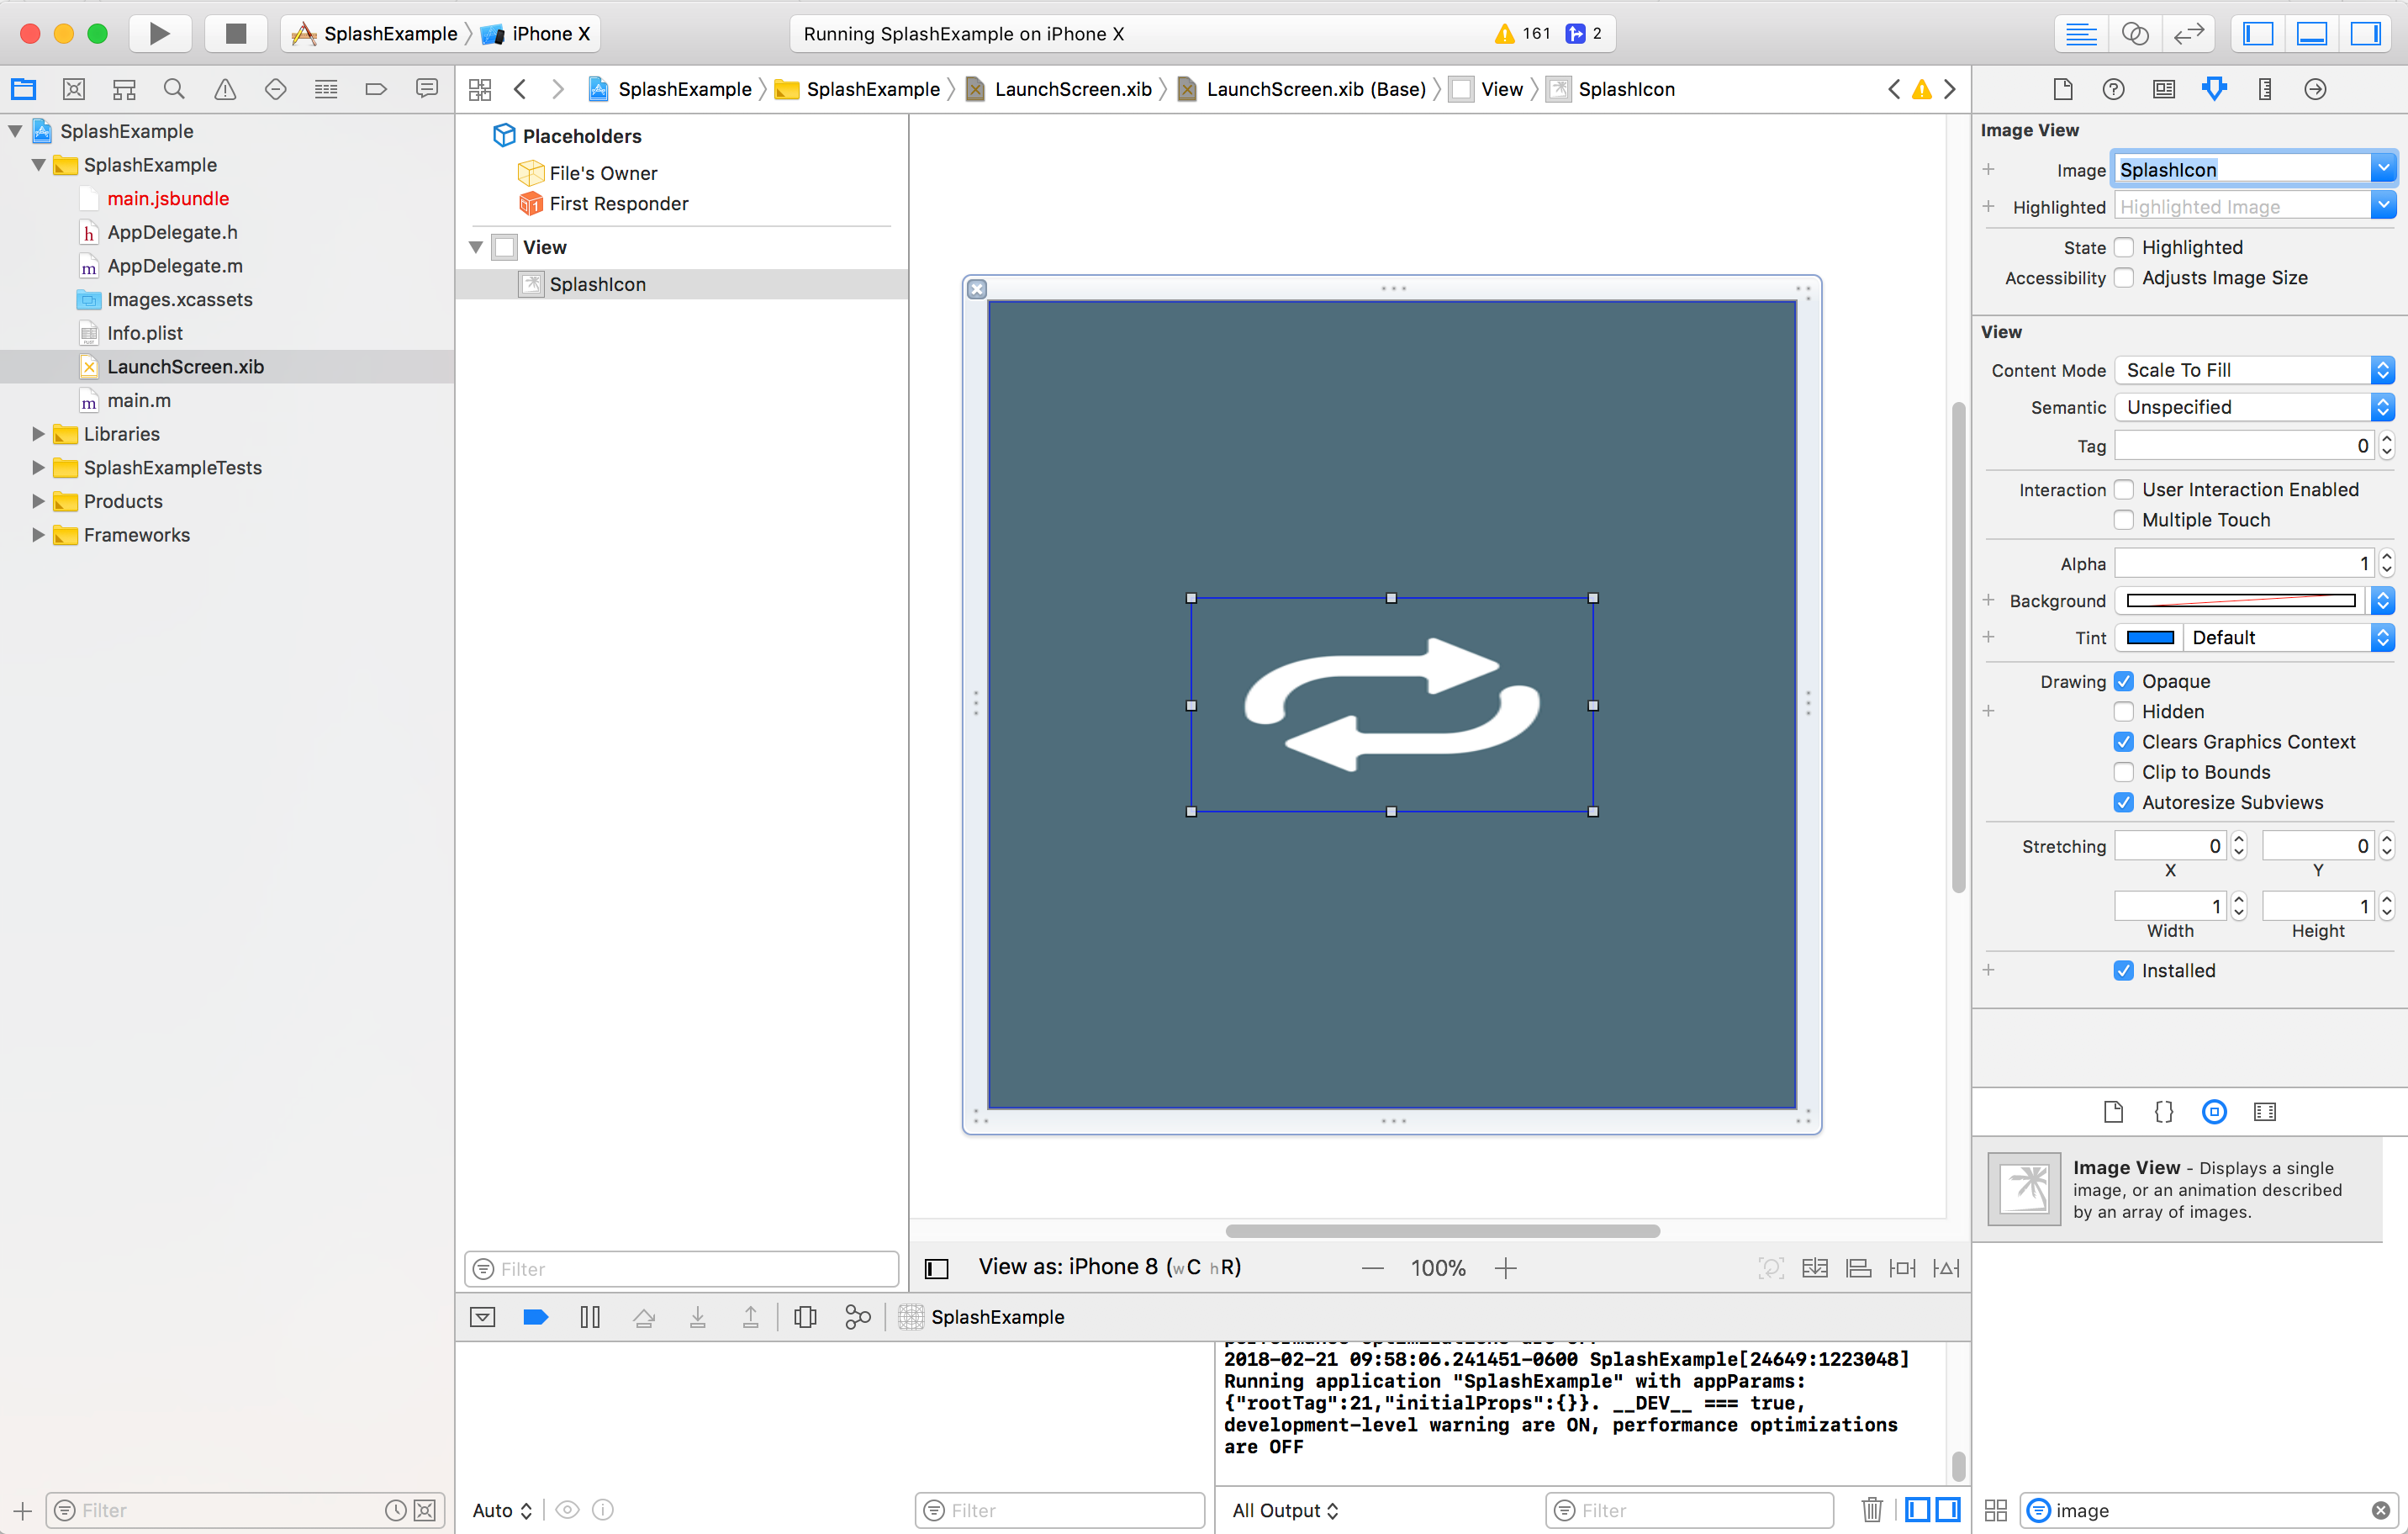
Now to fix proportions set the “Content Mode” to “Aspect Fit”. This is available in the right most menu, second down.


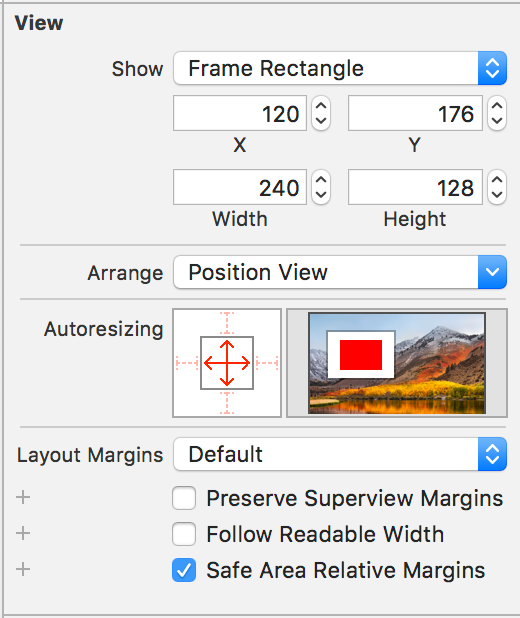
Next, we need to make sure our icon stays centered in the screen regardless of what device the app is running on. To do this, in the right most navigator, choose the fifth icon at the top (the one that looks like a ruler).

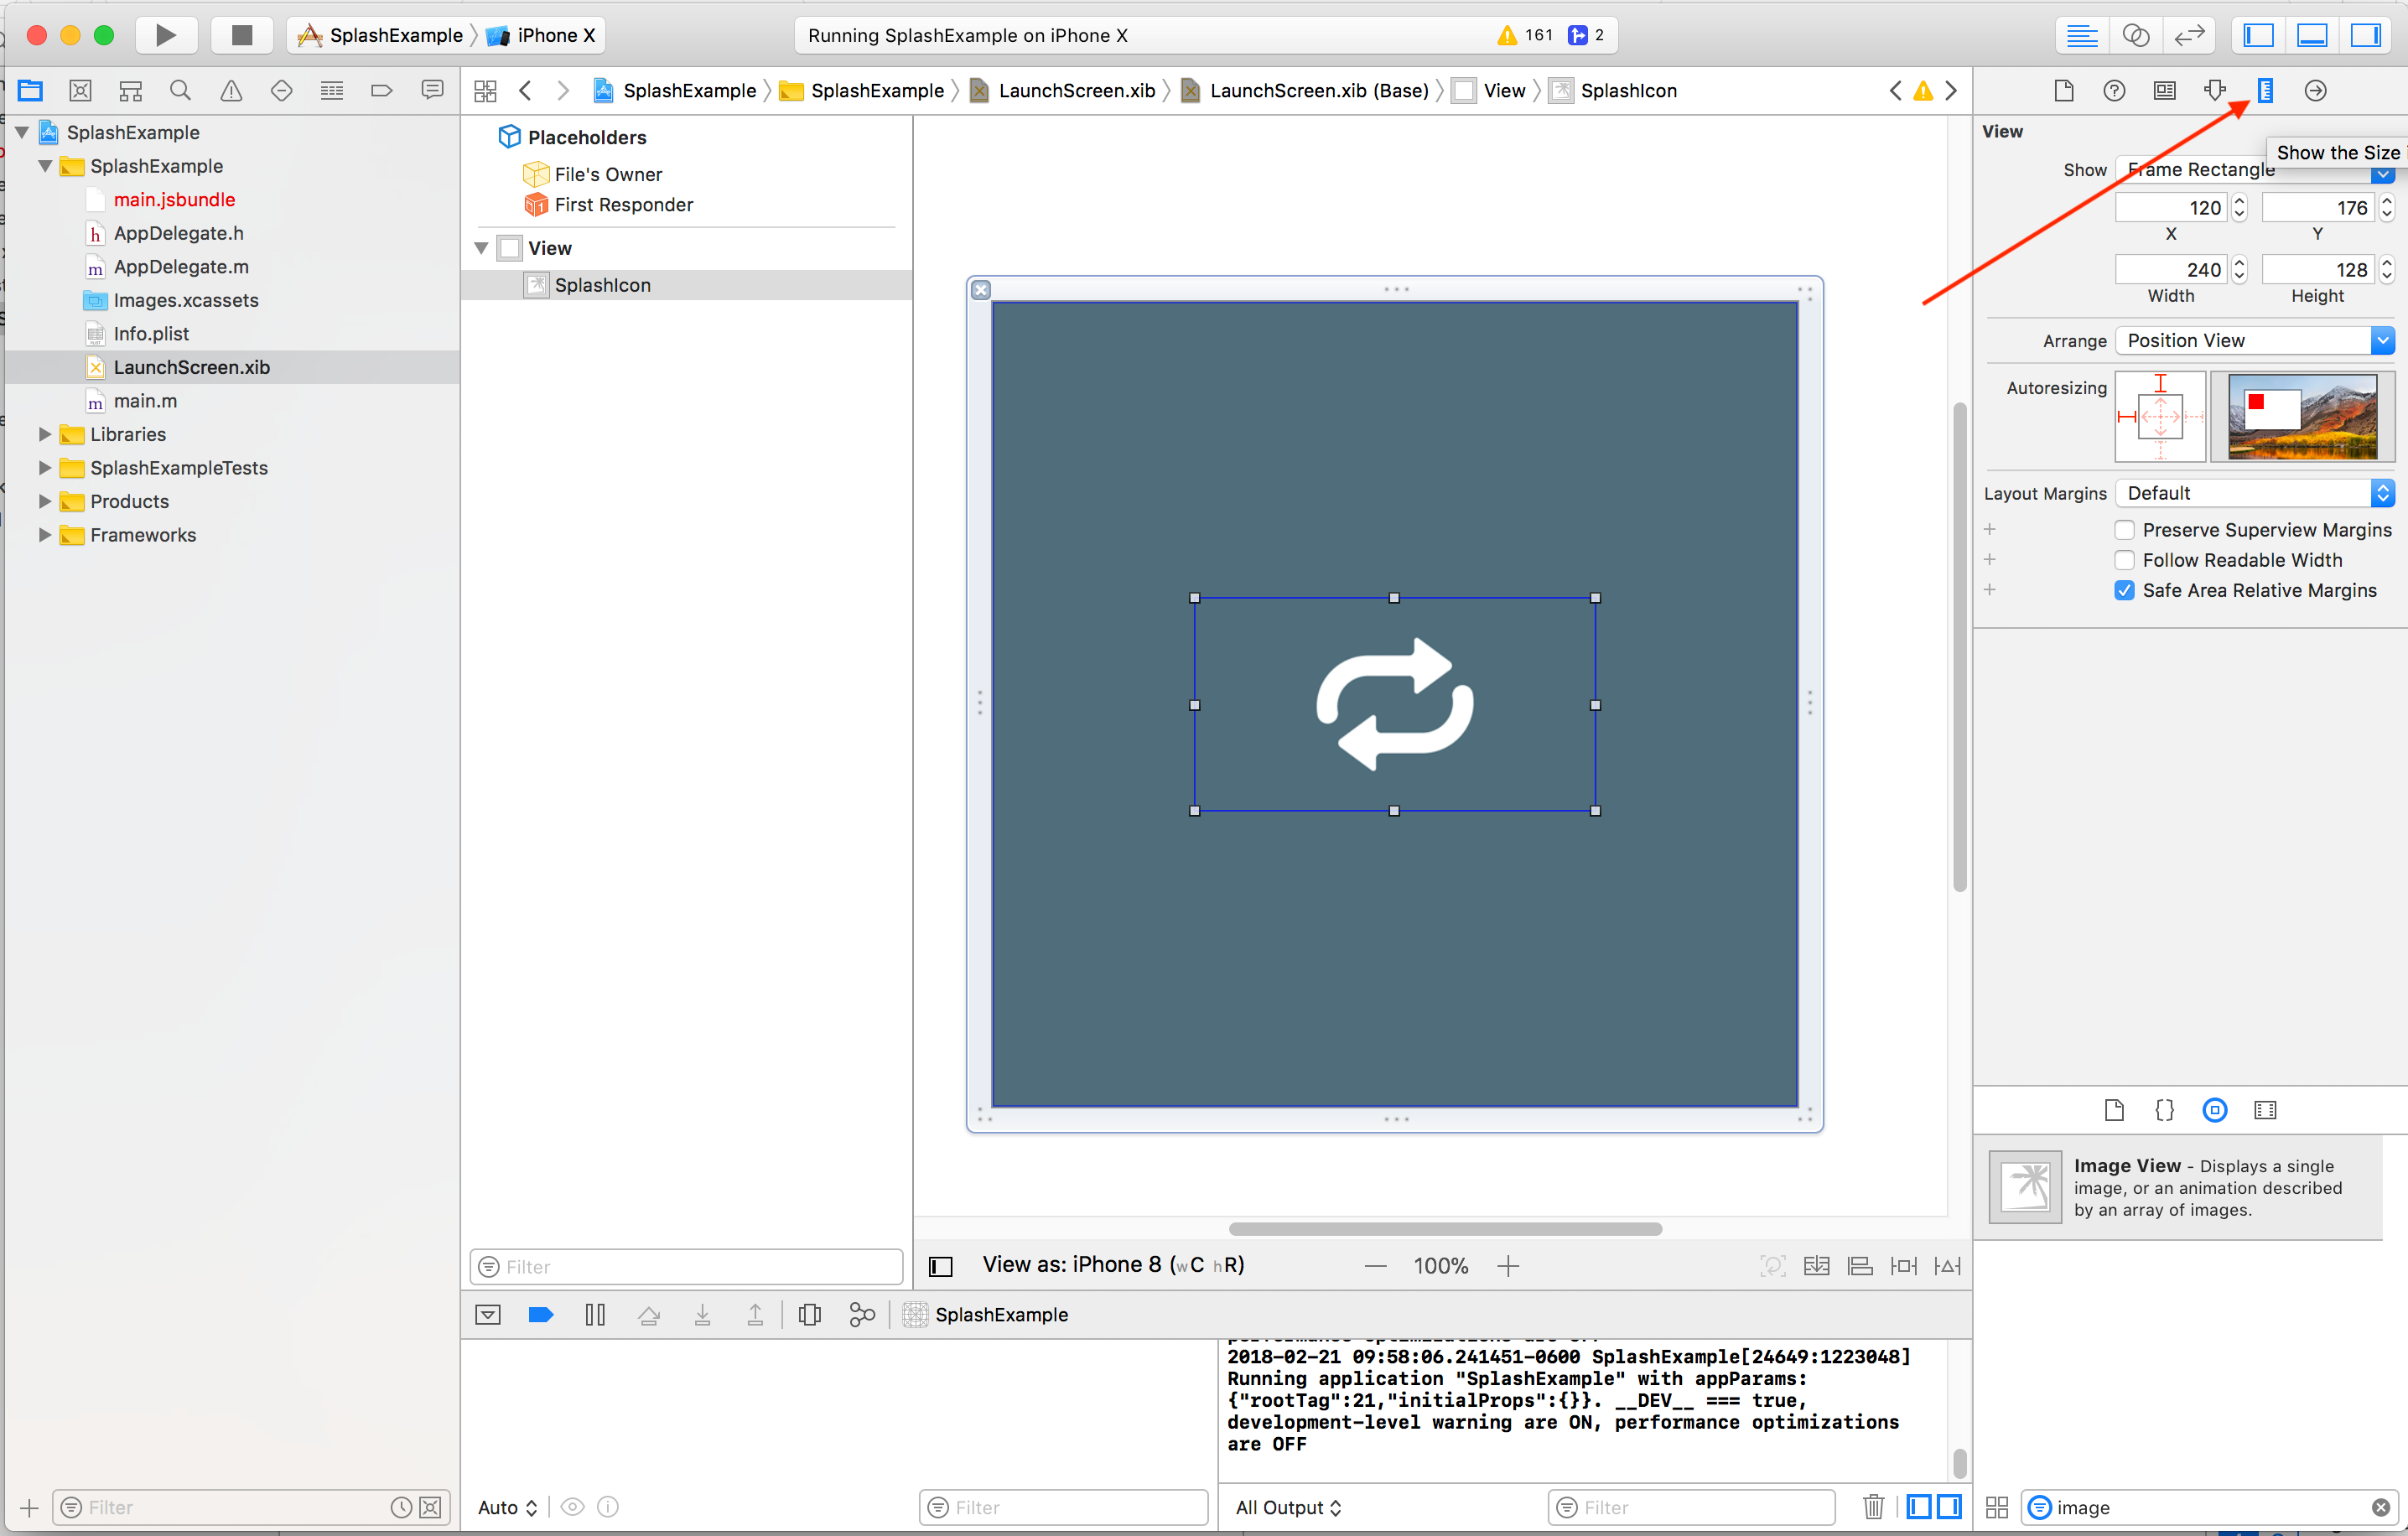
Within the “Autoresizing” section you’ll want to disable the outter red lines and enable the inner red arrows. This will allow the image to stay centered regardless of the screen dimensions.

That leaves us with the following:

Now to handle that pesky white screen flash…
First, why does that happen? That’s when the Javascript is loading & the bridge is initializing. At least that’s the way I think about it. The splash screen displays when the app is first booted up (React Native). Then while React Native is initializing we get that white screen so what we need to do is “hold” the splash screen a bit longer than the default behavior.
That’s where we’ll use
react-native-splash-screen.
First install the package and then link it.
yarn add react-native-splash-screen@3.0.6
react-native link react-native-splash-screen
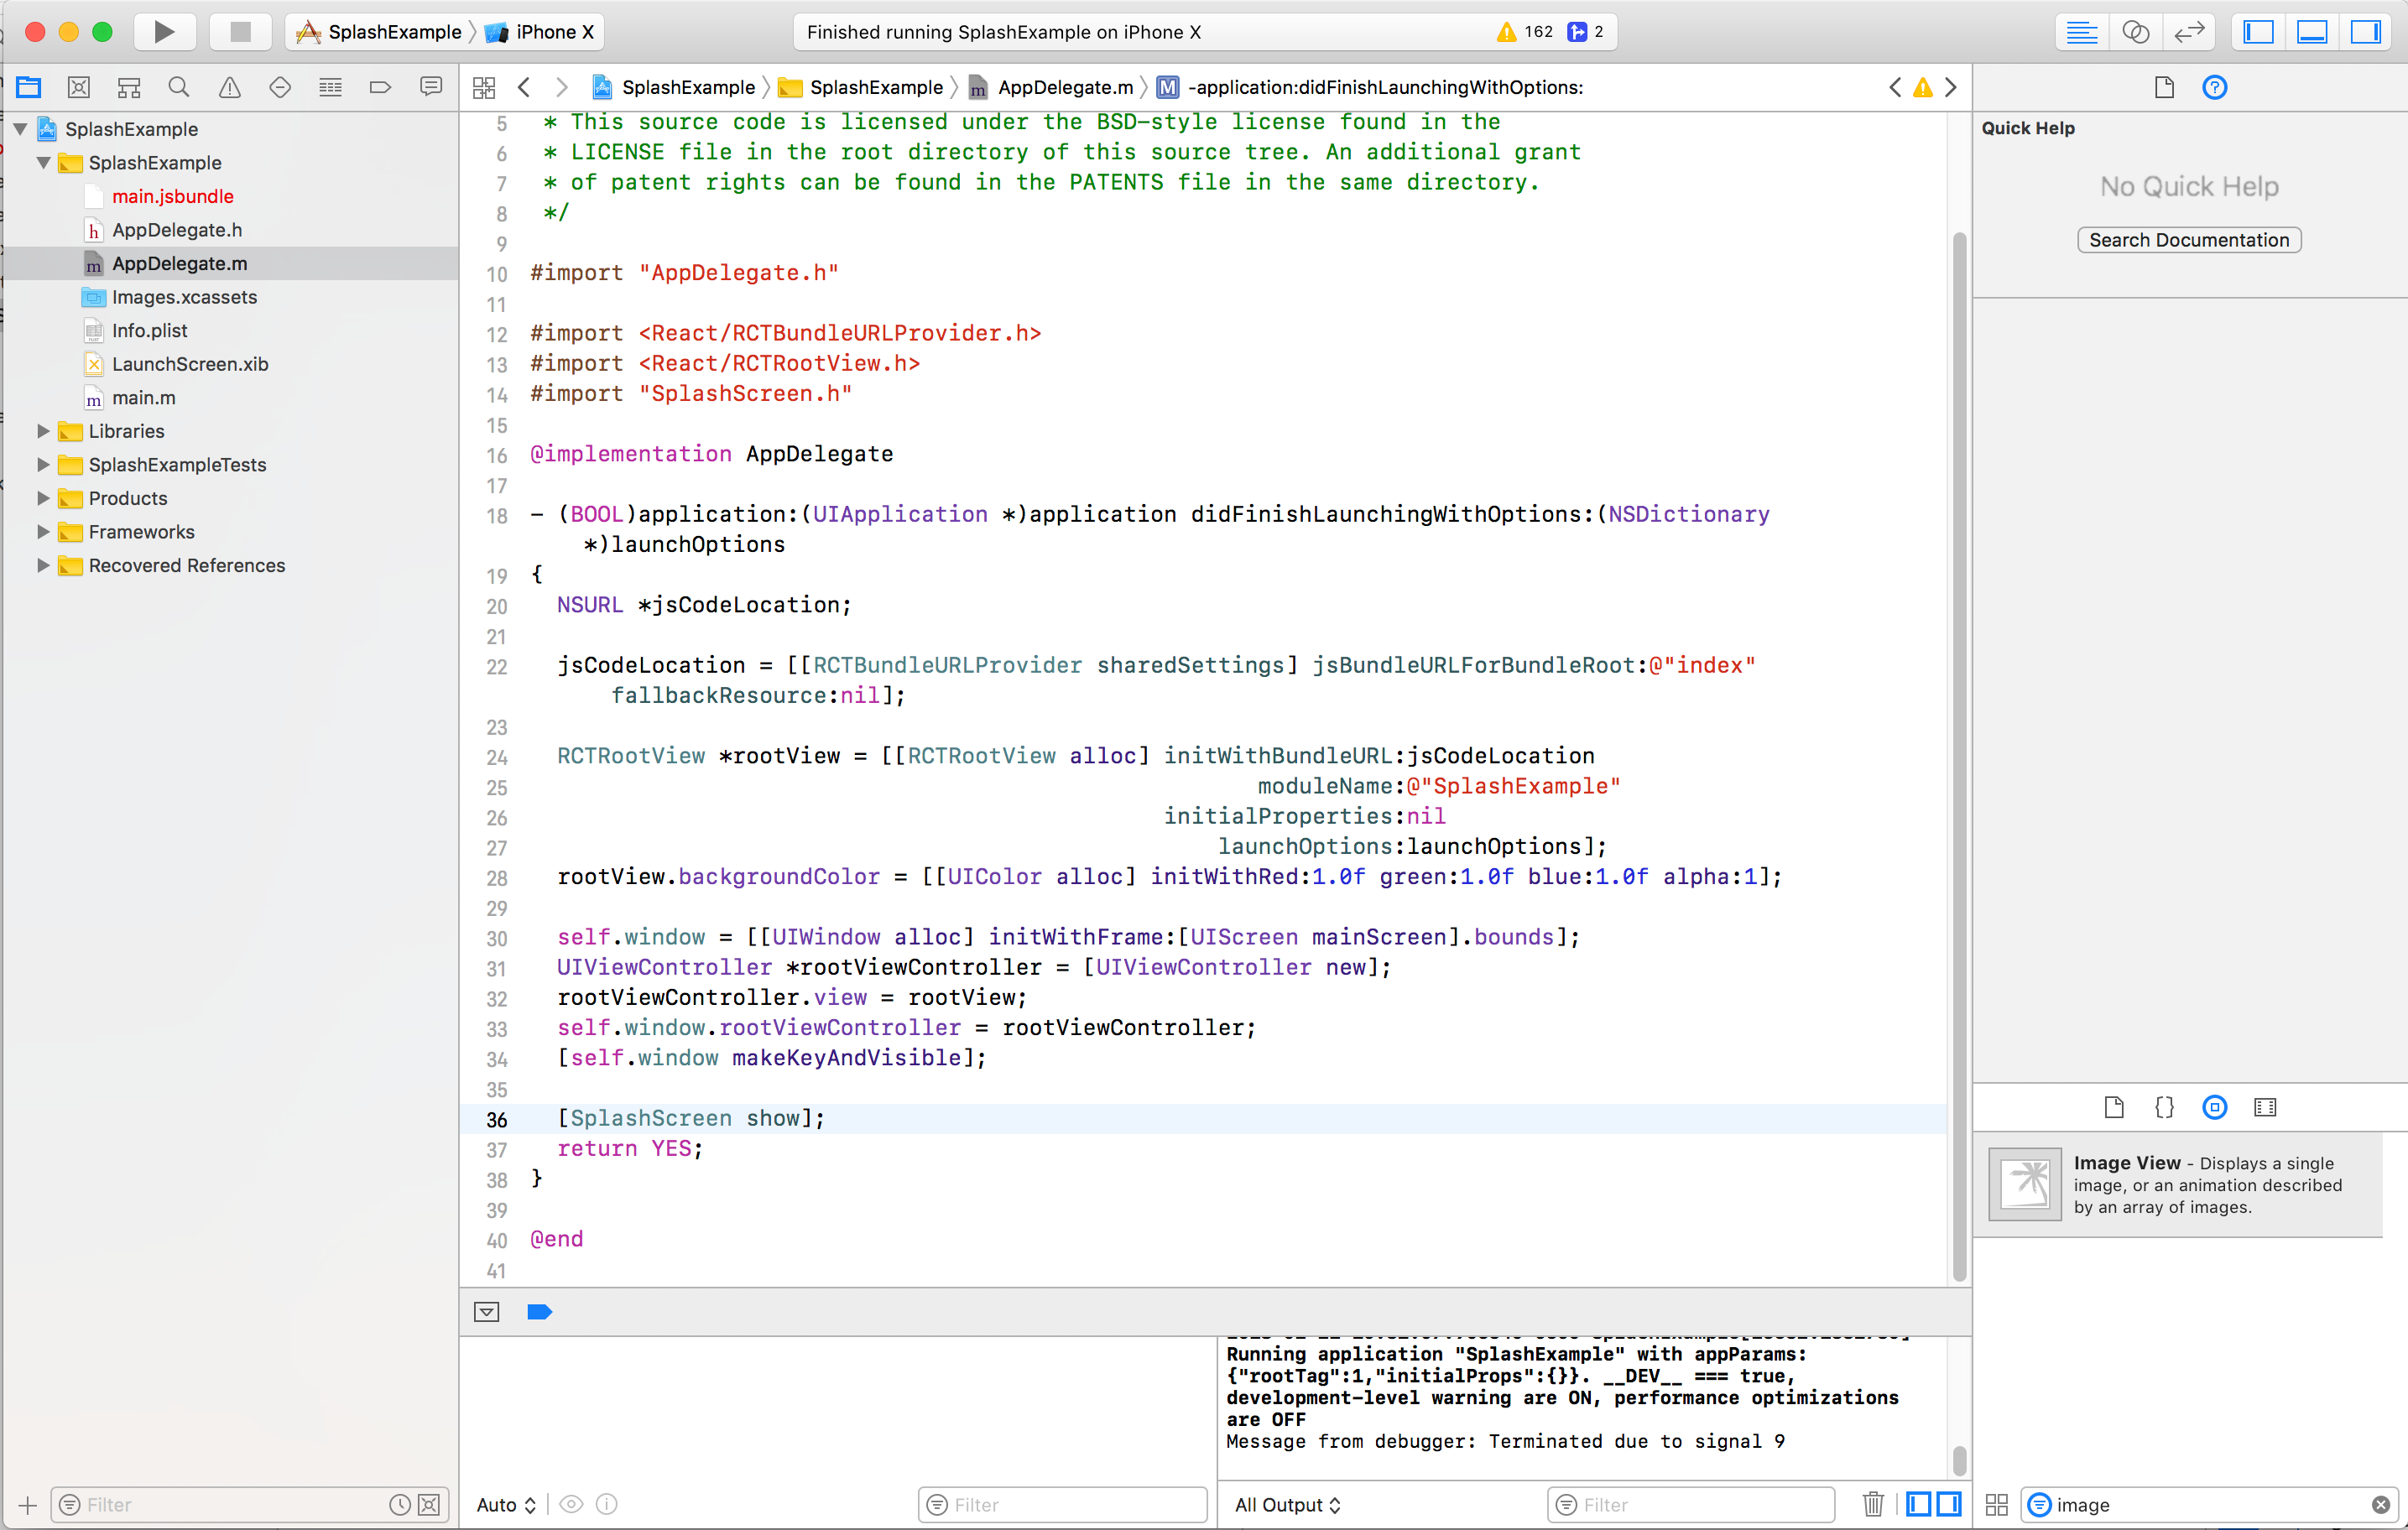
We then need to configure the package. From Xcode open the
AppDelegate.m file.
We’ll then add
#import “SplashScreen.h" with the other imports and then add [SplashScreen show]; just above return YES; in the didFinishLaunchingWithOptions method.
Finally, in
App.js, we need to tell the splash screen to hide once our app is ready. We’ll do that in the componentDidMount lifecycle hook.

Woo! Looking good. One last nitpick. Let’s set the statusbar color to light when the splash screen is shown. Open Info.plist in Xcode and add a new row to it. The key should be “UIStatusBarStyle” and the value (a string) to “UIStatusBarStyleLightContent”.


And that leaves us with perfection

Adding Splash Screens (Android)
Android is a touch more complicated than iOS because we need to create two separate splash screens. One is used by
react-native-splash-screen and the other is used before the app “inflates”. It’s also probably more difficult because I’m not as familiar with Android Studio. 😄
The first think we’ll do is add the image assets you previously downloaded to the mipmap directories in the android project. Android handles different pixel densities different than iOS so we’ll have to make some modifications.
First of all the
mipmap folders exist in android/app/src/main/res and each pixel density has a different density appended to the directory name. Here’s where images should go- mipmap-mdpi = icon.png
- mipmap-hdpi = icon@2x.png
- mipmap-xhdpi = icon@3x.png
- mipmap-xxhdpi = icon@3x.png
Once there rename the files so they’re
icon.png instead.

Next we’ll go ahead and create the splash screen that is displayed when the app first launches from a cold start.
These instructions are highly influenced by the why behind what we’re doing.
First create a
background_splash.xml file in android/app/src/main/res/drawable (you’ll likely have to create the drawable directory).
Add the following code:
<?xml version="1.0" encoding="utf-8"?>
<layer-list xmlns:android="http://schemas.android.com/apk/res/android">

    <item
        android:drawable="@color/blue"/>

    <item
        android:width="200dp"
        android:height="200dp"
        android:drawable="@mipmap/icon"
        android:gravity="center" />

</layer-list>
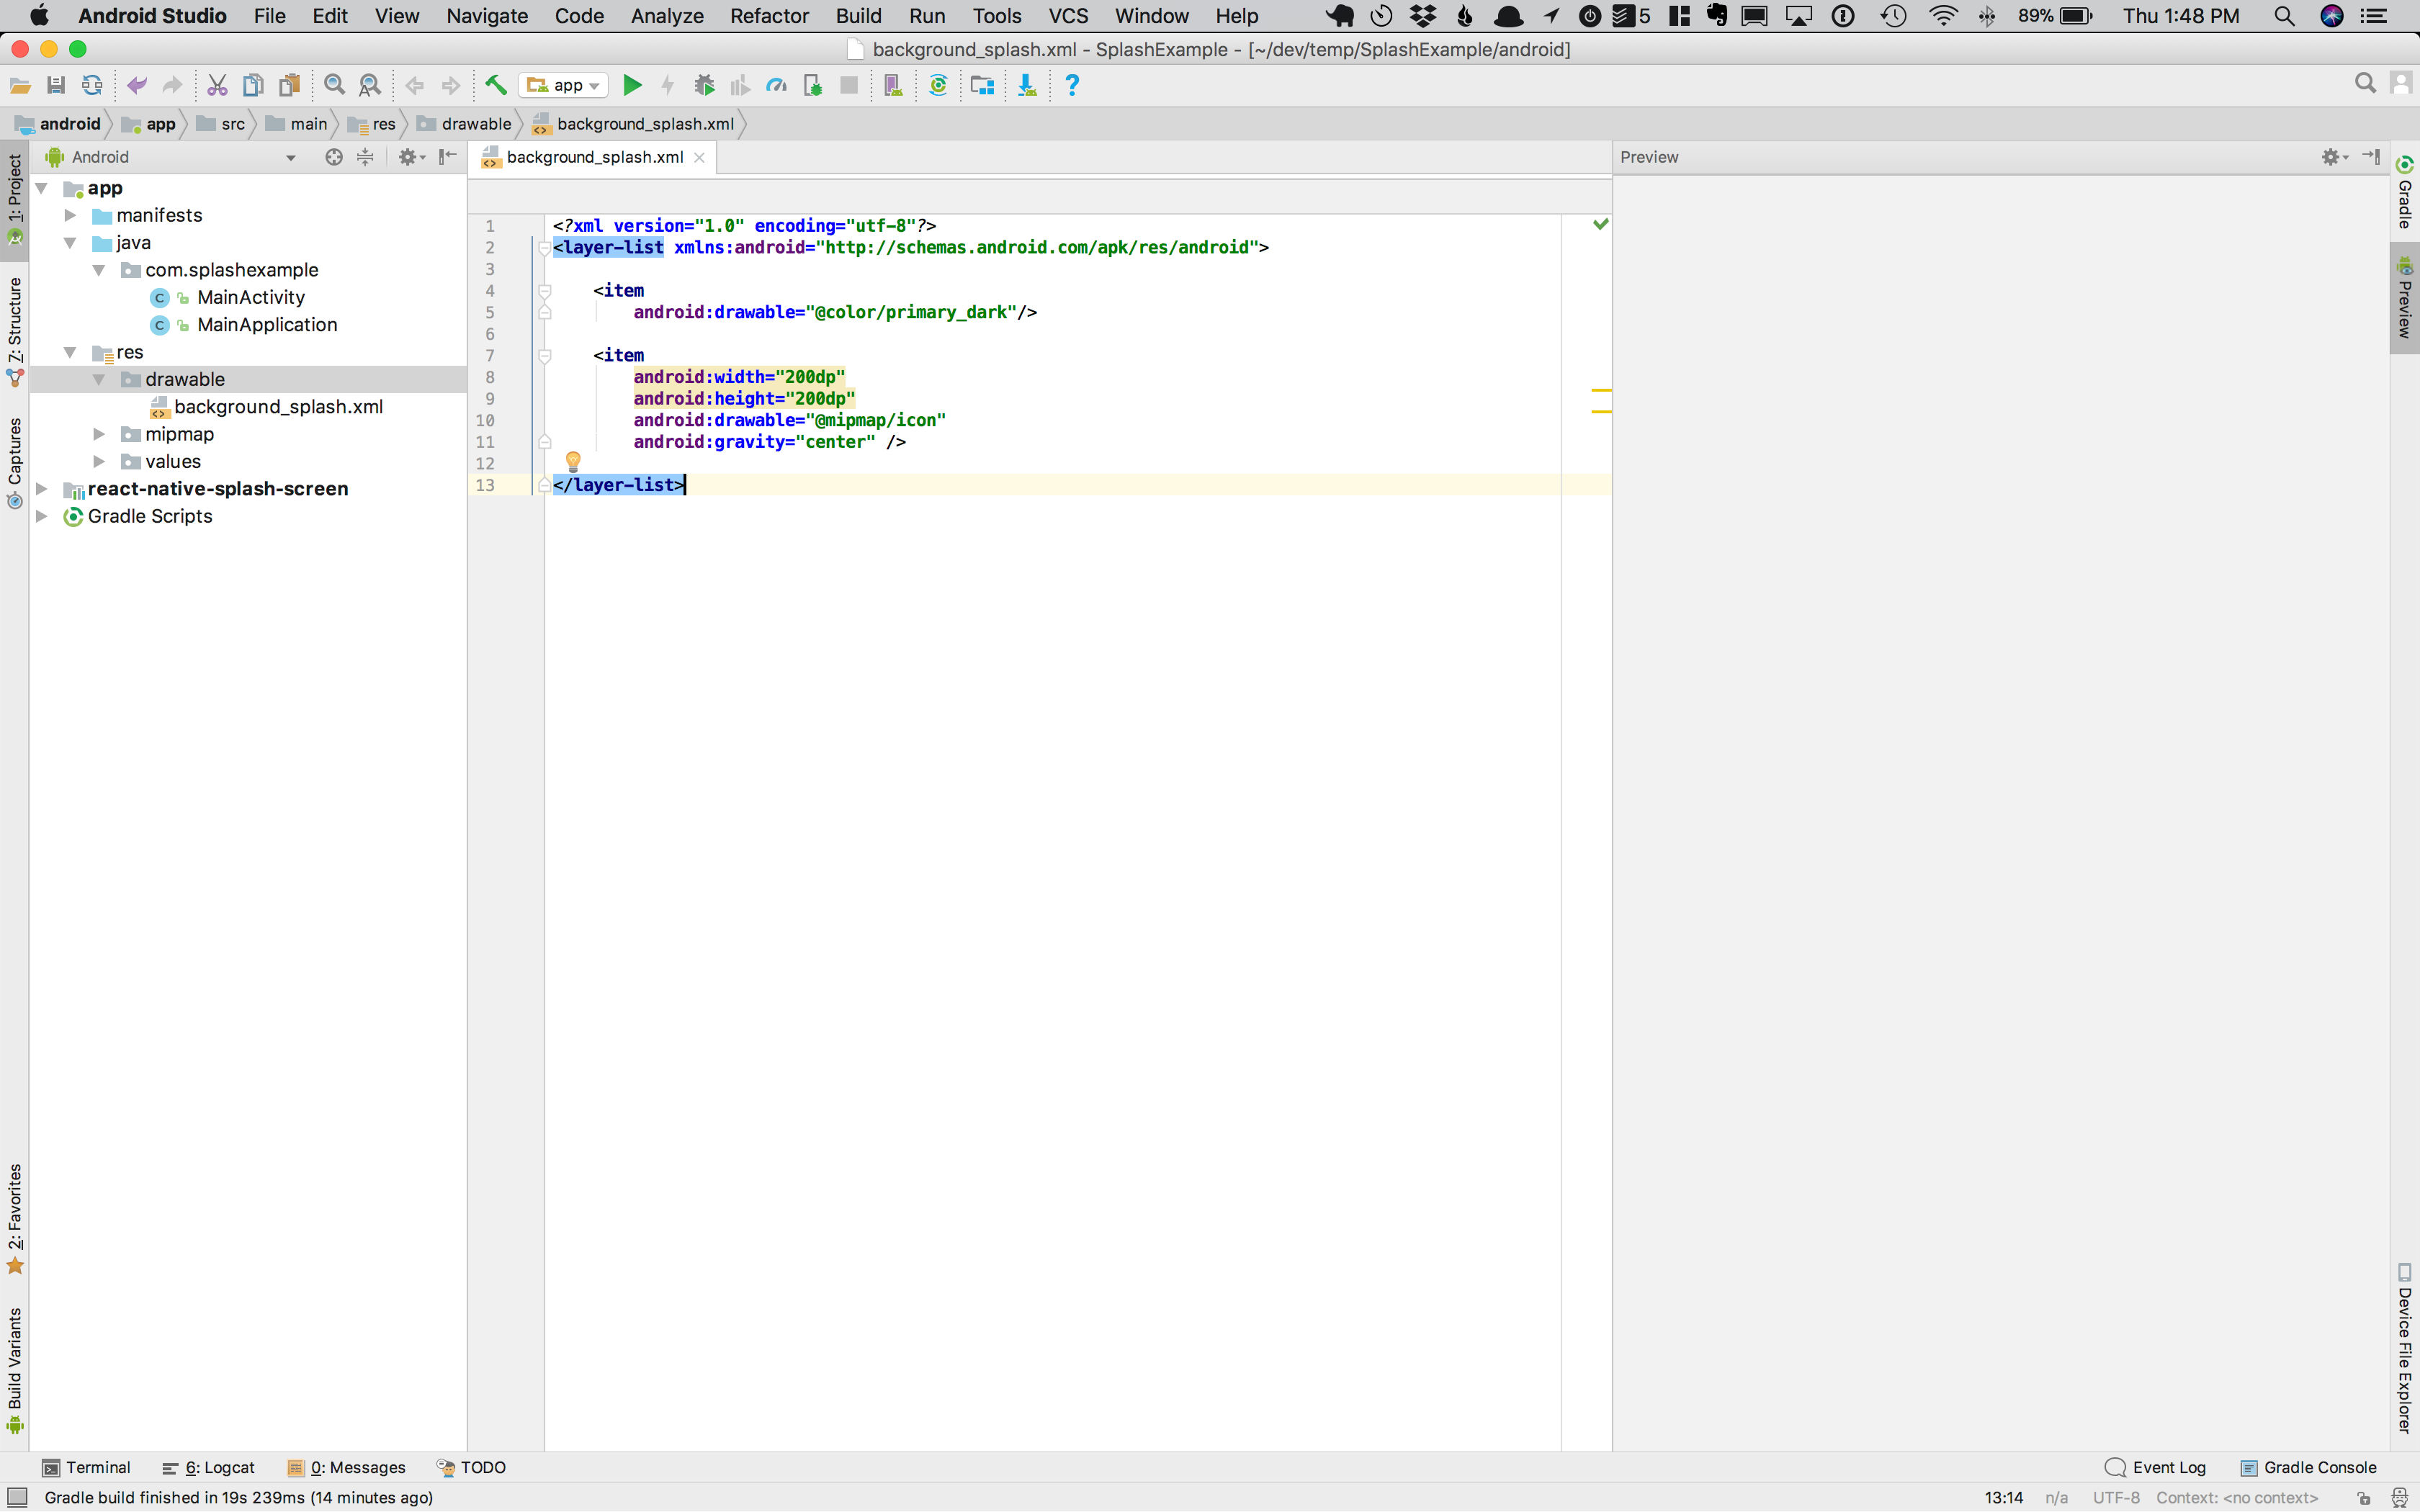
What we’re doing here is setting up a
layer-list (a list of layers) then setting a background color (which we'll define shortly) and finally rendering our icon. The icon will be 200dp tall and wide and centered in the screen.
Next we’ll create a
colors.xml in android/app/src/main/res/values in which we'll define our blue color (which is the same as the blue in our application).<?xml version="1.0" encoding="utf-8"?>
<resources>
<color name="blue">#4F6D7A</color>
</resources>
Then we create a new
SplashTheme in the android/app/src/main/res/values/styles.xml file.<style name="SplashTheme" parent="Theme.AppCompat.Light.NoActionBar">
<item name="android:windowBackground">@drawable/background_splash</item>
<item name="android:statusBarColor">@color/blue</item>
</style>
We’re telling it to use the
background_splash we just defined as the window background and we're also telling it to use the blue color for the statusbar. I'm trying to emulate the actual app as much as possible here, thus the status bar change.
While we’re here let’s go ahead and ensure that the default StatusBar of our primary app theme defaults to the correct color as well. That leaves us with a
styles.xml of:<resources>
<!-- Base application theme. -->
<style name="AppTheme" parent="Theme.AppCompat.Light.NoActionBar">
<!-- Customize your theme here. -->
<item name="android:statusBarColor">@color/blue</item>
</style>
<style name="SplashTheme" parent="Theme.AppCompat.Light.NoActionBar">
    <item name="android:windowBackground">@drawable/background_splash</item>
    <item name="android:statusBarColor">@color/blue</item>
</style>
</resources>
Now we need to tell our app to use the
SplashTheme initially. We'll do that in AndroidManifest.xml. Inside of <application></application> add<activity
android:name=".SplashActivity"
android:theme="@style/SplashTheme"
android:label="@string/app_name">
<intent-filter>
<action android:name="android.intent.action.MAIN" />
<category android:name="android.intent.category.LAUNCHER" />
</intent-filter>
</activity>
And modify the MainActivity to be the following. Pay special attention to the
android:exported="true" I added.<activity android:name=".MainActivity" android:label="@string/app_name" android:configChanges="keyboard|keyboardHidden|orientation|screenSize" android:windowSoftInputMode="adjustResize" android:exported="true" />
That leaves me with an
AndroidManifest.xml that looks like<manifest xmlns:android="http://schemas.android.com/apk/res/android"
package="com.splashexample"
android:versionCode="1"
android:versionName="1.0">
<uses-permission android:name="android.permission.INTERNET" />
<uses-permission android:name="android.permission.SYSTEM_ALERT_WINDOW"/>
<uses-sdk
android:minSdkVersion="16"
android:targetSdkVersion="22" />
<application
android:name=".MainApplication"
android:allowBackup="true"
android:label="@string/app_name"
android:icon="@mipmap/ic_launcher"
android:theme="@style/AppTheme">
<activity
    android:name=".SplashActivity"
    android:theme="@style/SplashTheme"
    android:label="@string/app_name">
    <intent-filter>
        <action android:name="android.intent.action.MAIN" />
        <category android:name="android.intent.category.LAUNCHER" />
    </intent-filter>
</activity>
<activity
  android:name=".MainActivity"
  android:label="@string/app_name"
  android:configChanges="keyboard|keyboardHidden|orientation|screenSize"
  android:windowSoftInputMode="adjustResize"
  android:exported="true"
/>
<activity android:name="com.facebook.react.devsupport.DevSettingsActivity" />
</application>
</manifest>
Now we need to create a
SplashActivity.java file.
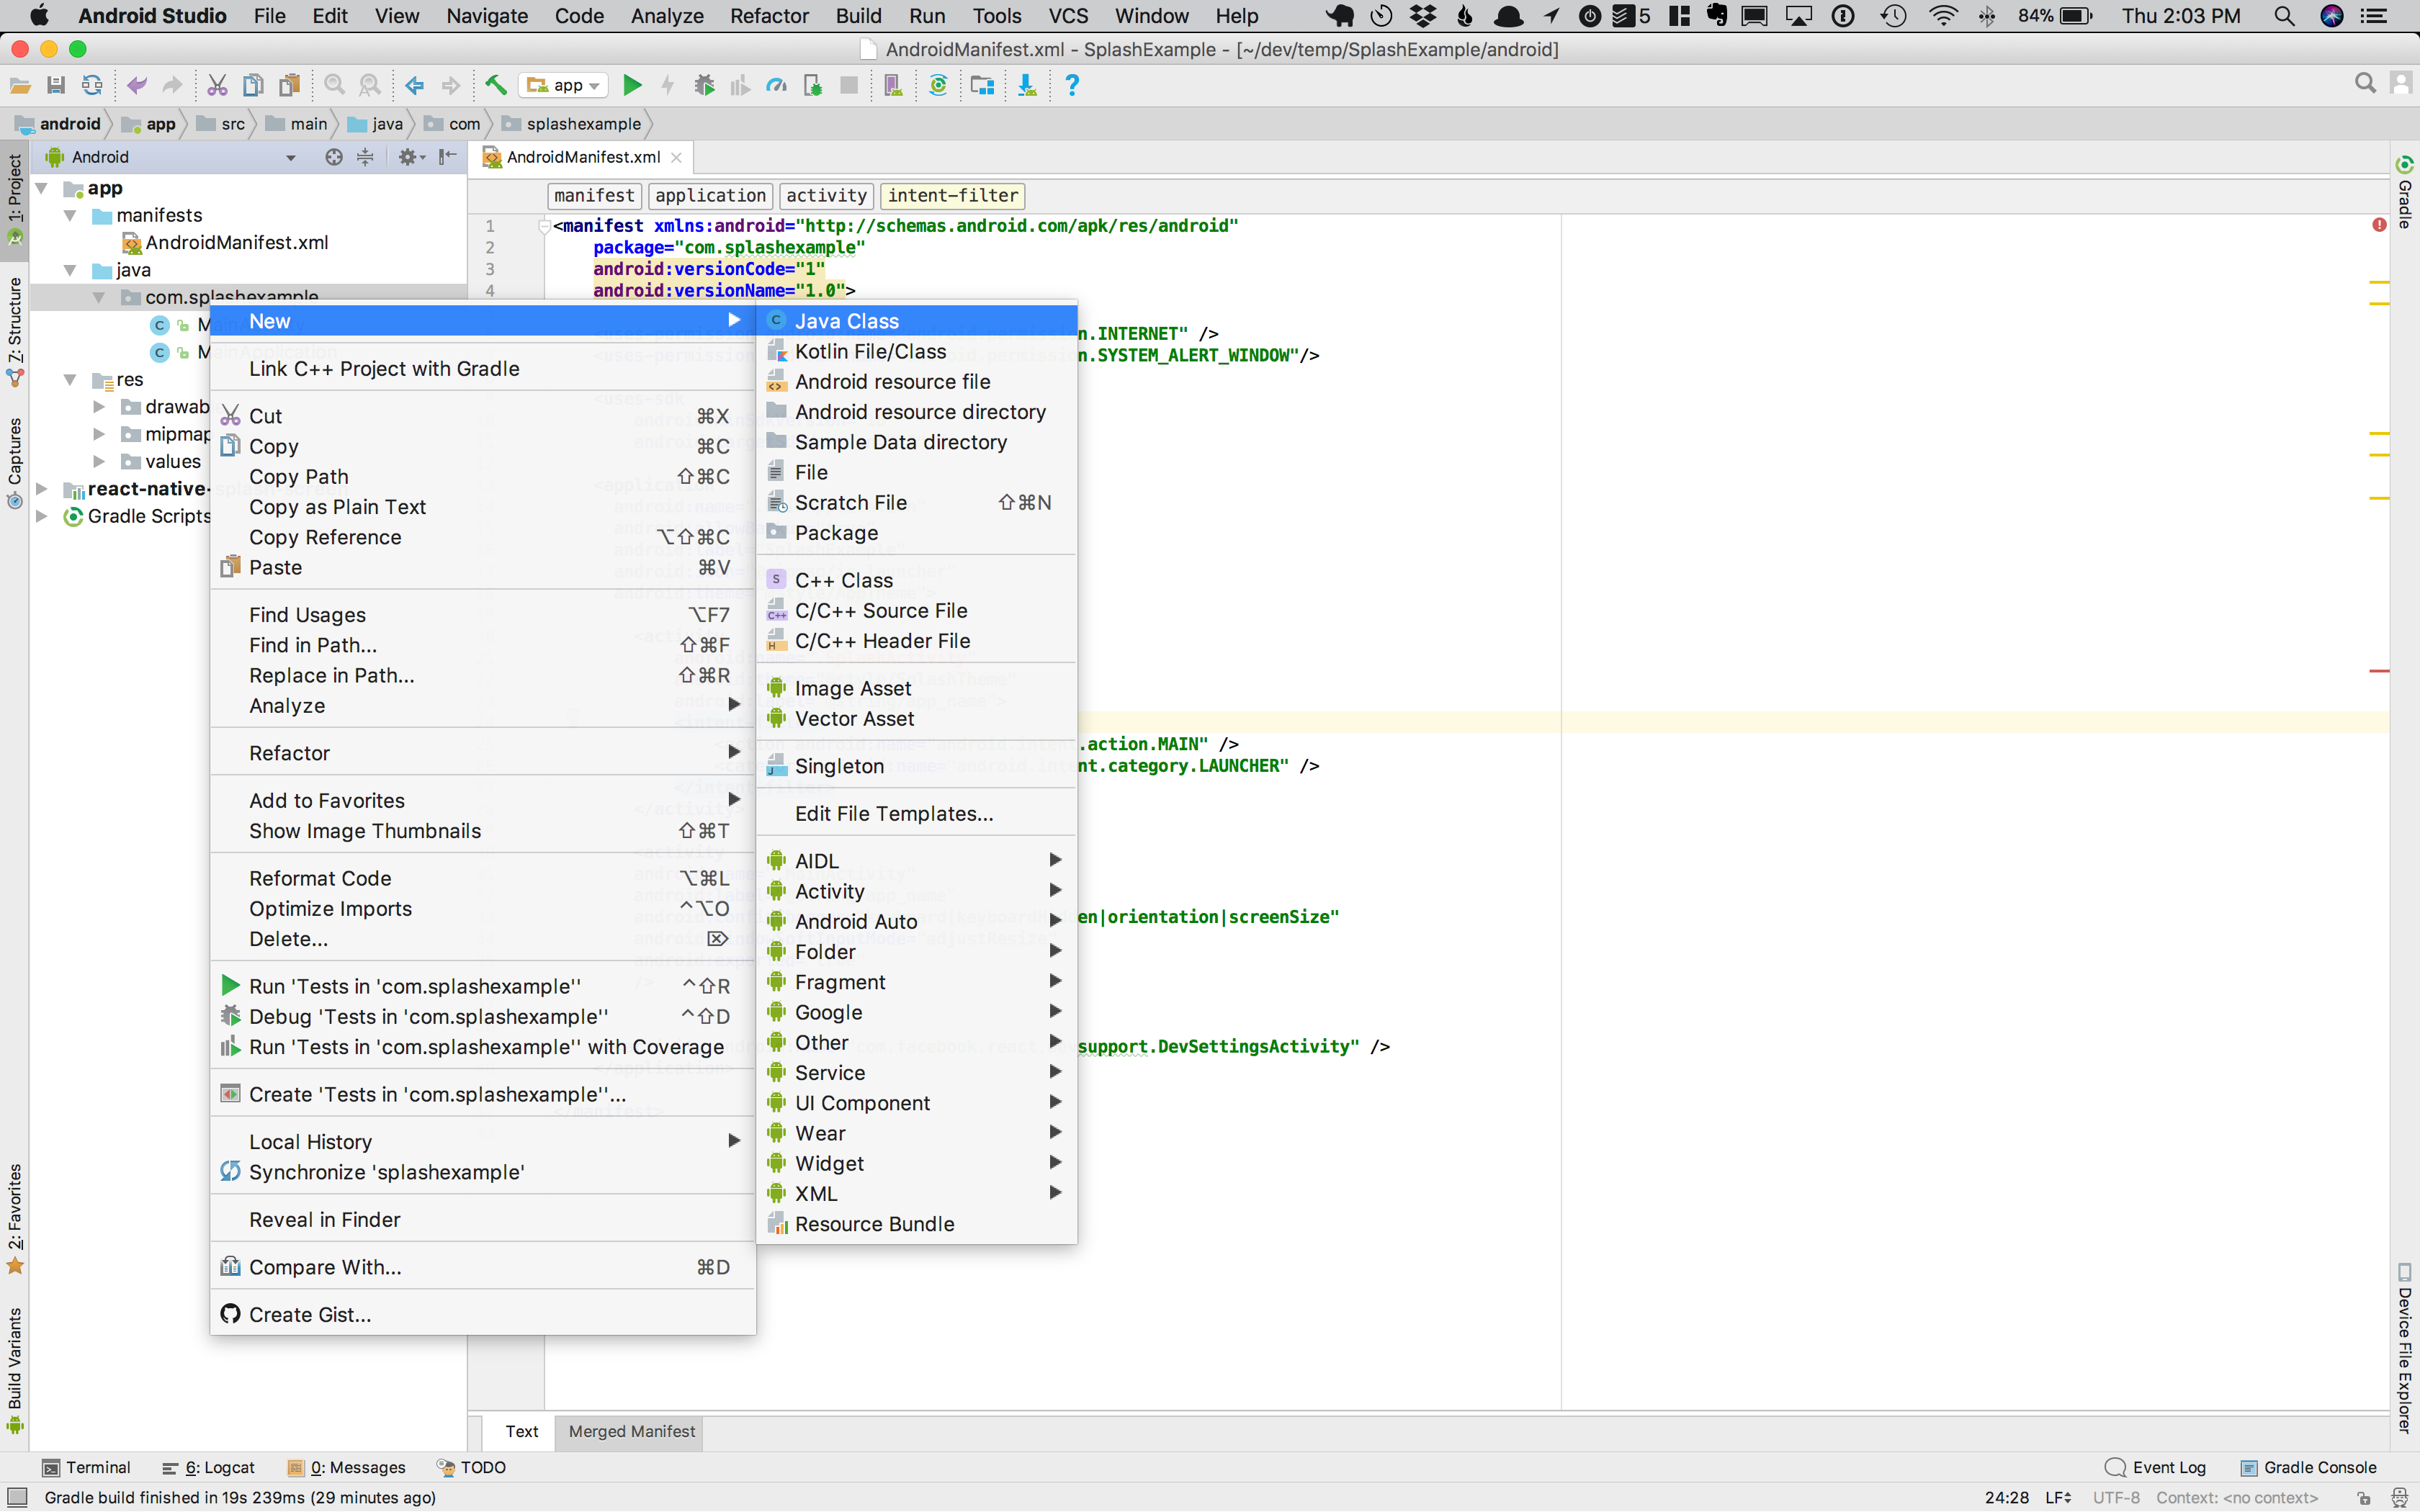
The purpose of this SplashActivity.java is to forward along to our MainActivity (the React Native app). It should look like this
package com.splashexample; // this should be your package name

import com.facebook.react.ReactActivity;
import org.devio.rn.splashscreen.SplashScreen; // import this
import android.os.Bundle; // import this

public class MainActivity extends ReactActivity {
    @Override
    protected void onCreate(Bundle savedInstanceState) {
        SplashScreen.show(this);  // here
        super.onCreate(savedInstanceState);
    }

    ...
}
Now, assuming everything is set up correctly, if you run the app then quit it (so it has to do a cold start) you should see the following.

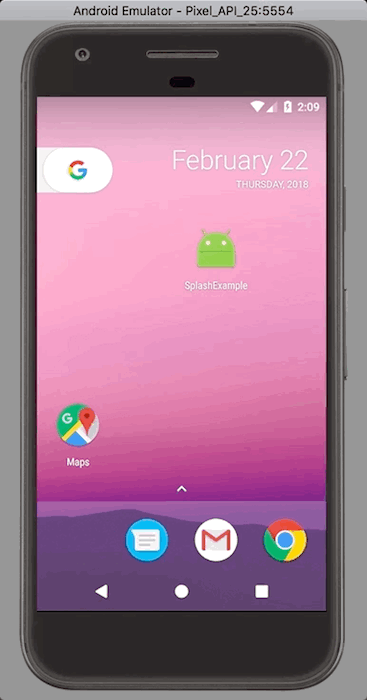
Looking pretty good! We get the launch screen right away but then we get that white flash again…
Fixing it isn’t quite as easy on iOS, but still not too difficult.
If you haven’t already, install
react-native-splash-screen and link it.yarn add react-native-splash-screen@3.0.6
react-native link
We then need to configure the native android side.
In
MainActivity.java addpackage com.splashexample; // this should be your package name
import com.facebook.react.ReactActivity;
import org.devio.rn.splashscreen.SplashScreen; // import this
import android.os.Bundle; // import this
public class MainActivity extends ReactActivity {
@Override
protected void onCreate(Bundle savedInstanceState) {
SplashScreen.show(this); // here
super.onCreate(savedInstanceState);
}
...
}
Then configure App.js in your application, if you haven’t already, to close the splash screen as soon as the app loads.
import SplashScreen from 'react-native-splash-screen';

export default class App extends Component {
  componentDidMount() {
    SplashScreen.hide()
  }

  ...
}
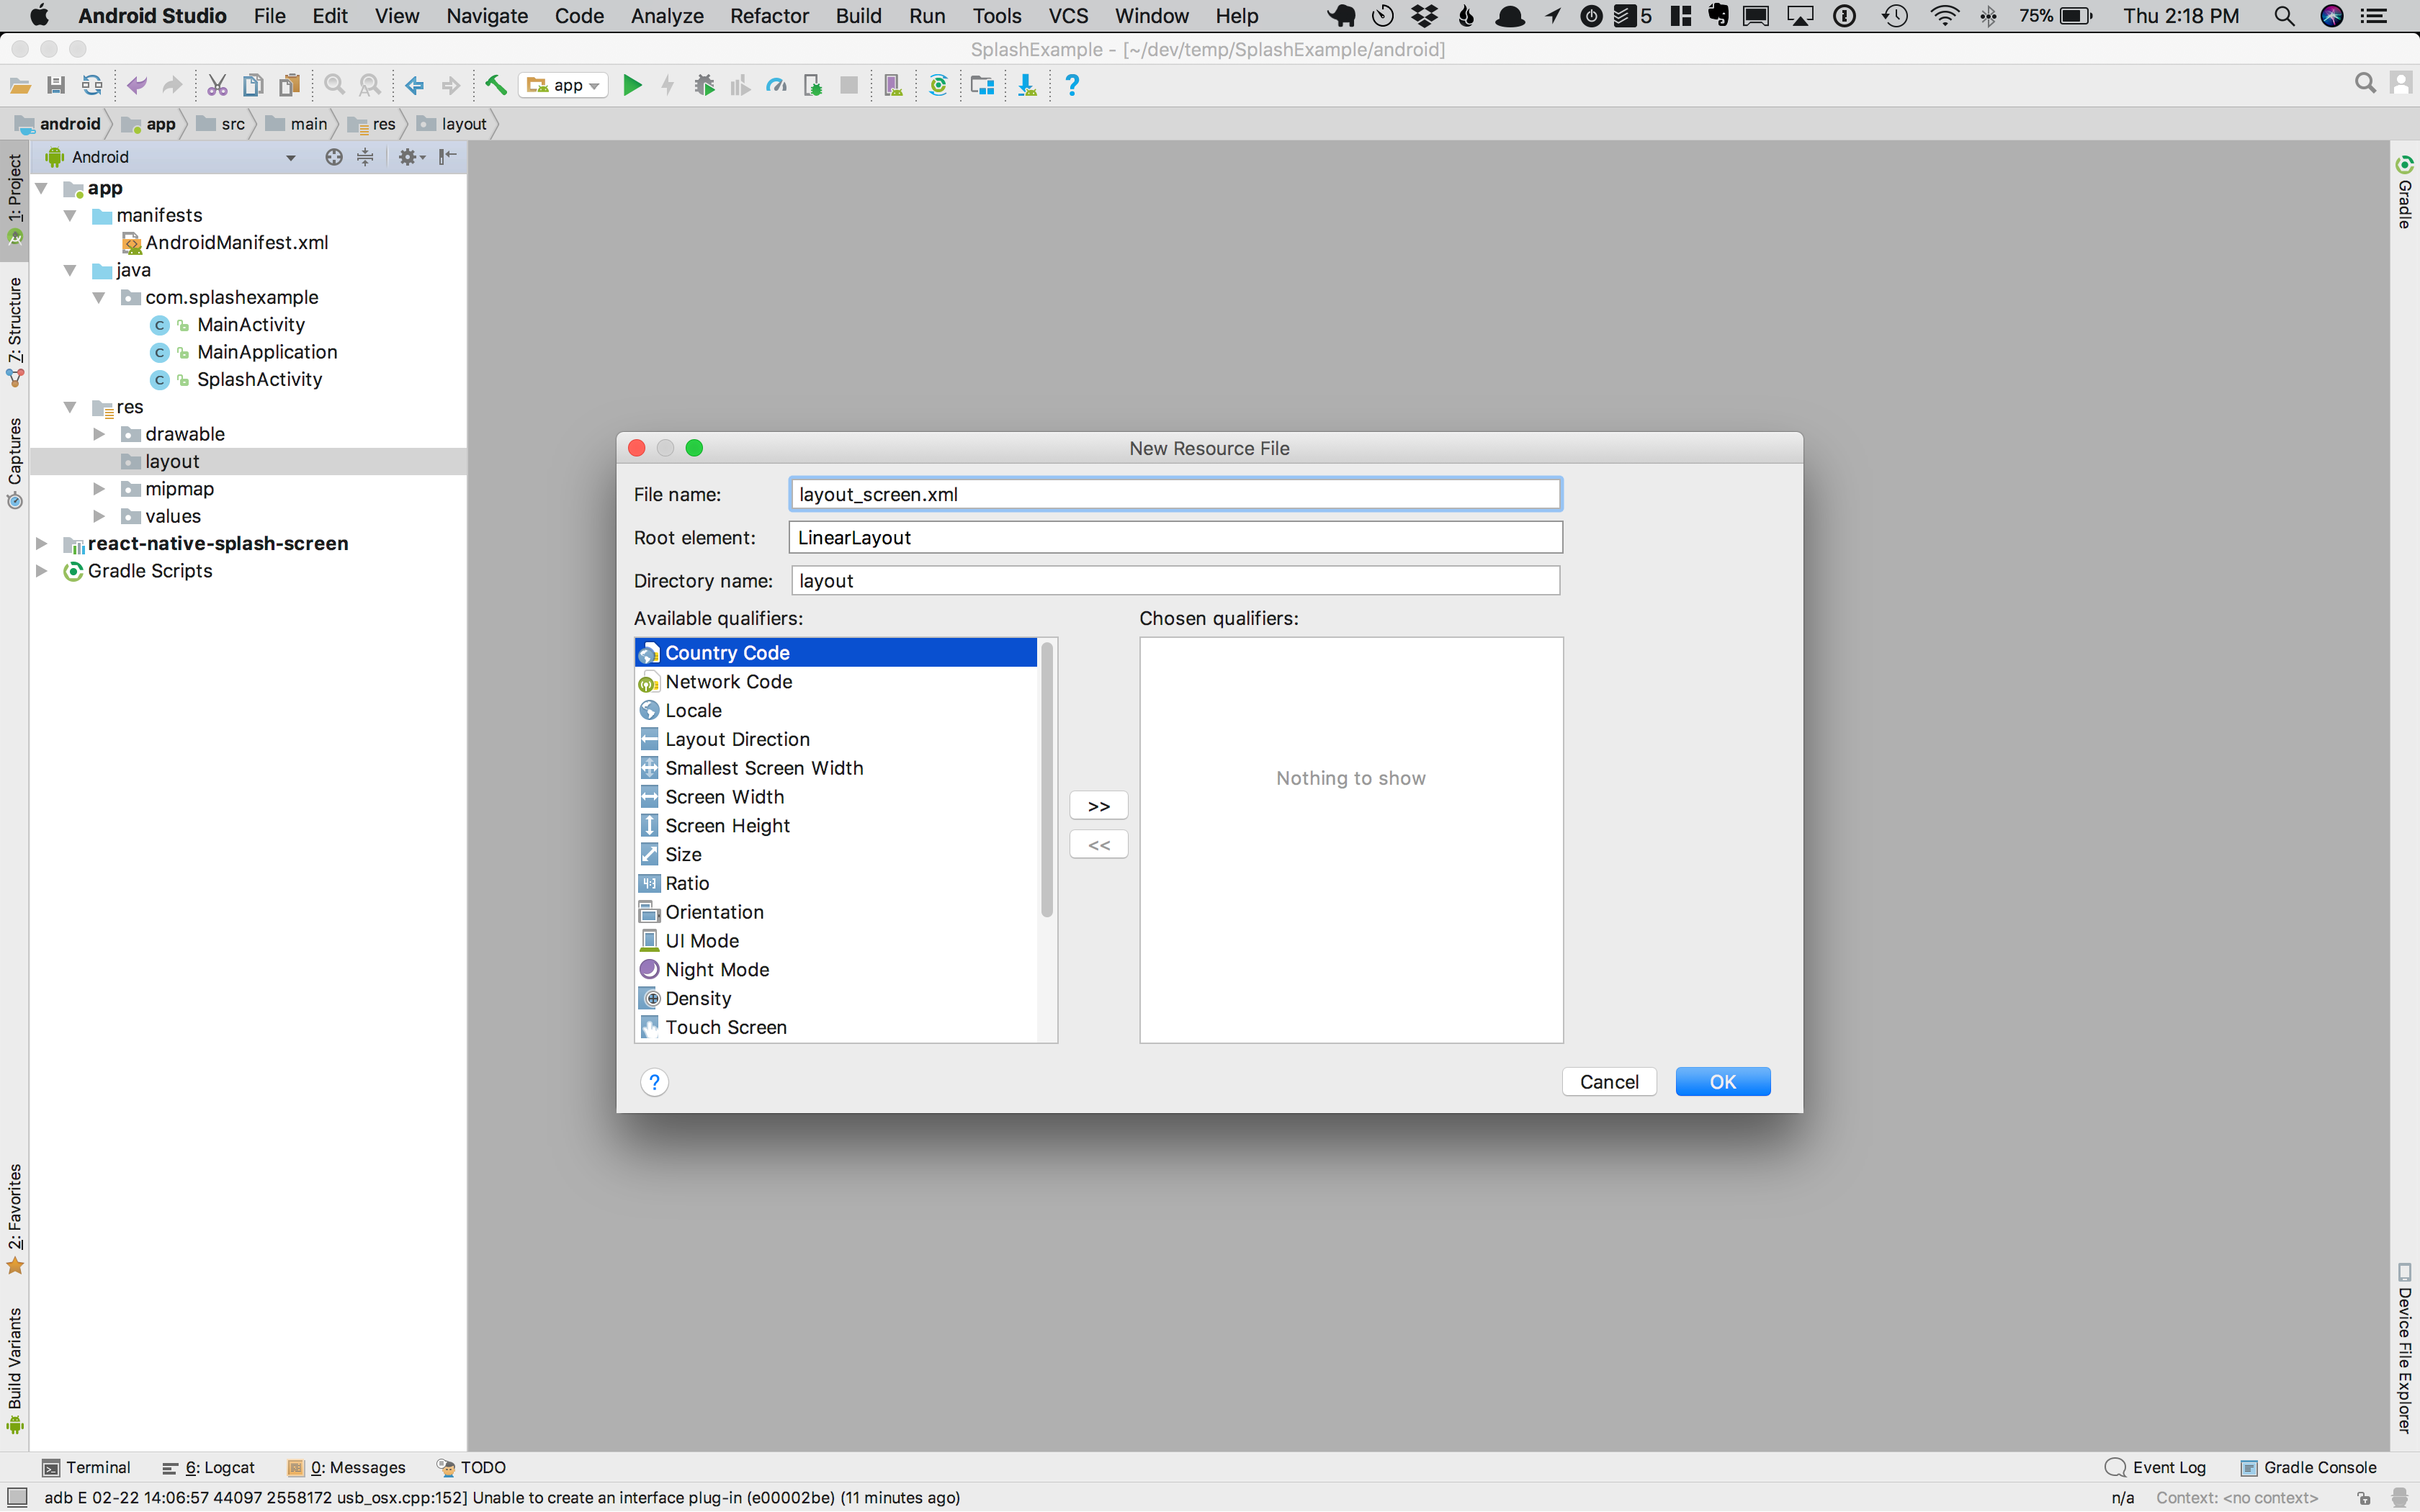
Then you’ll want to create a
launch_screen.xml (name matters!) inside of android/app/src/main/res/layout with a root element of LinearLayout.
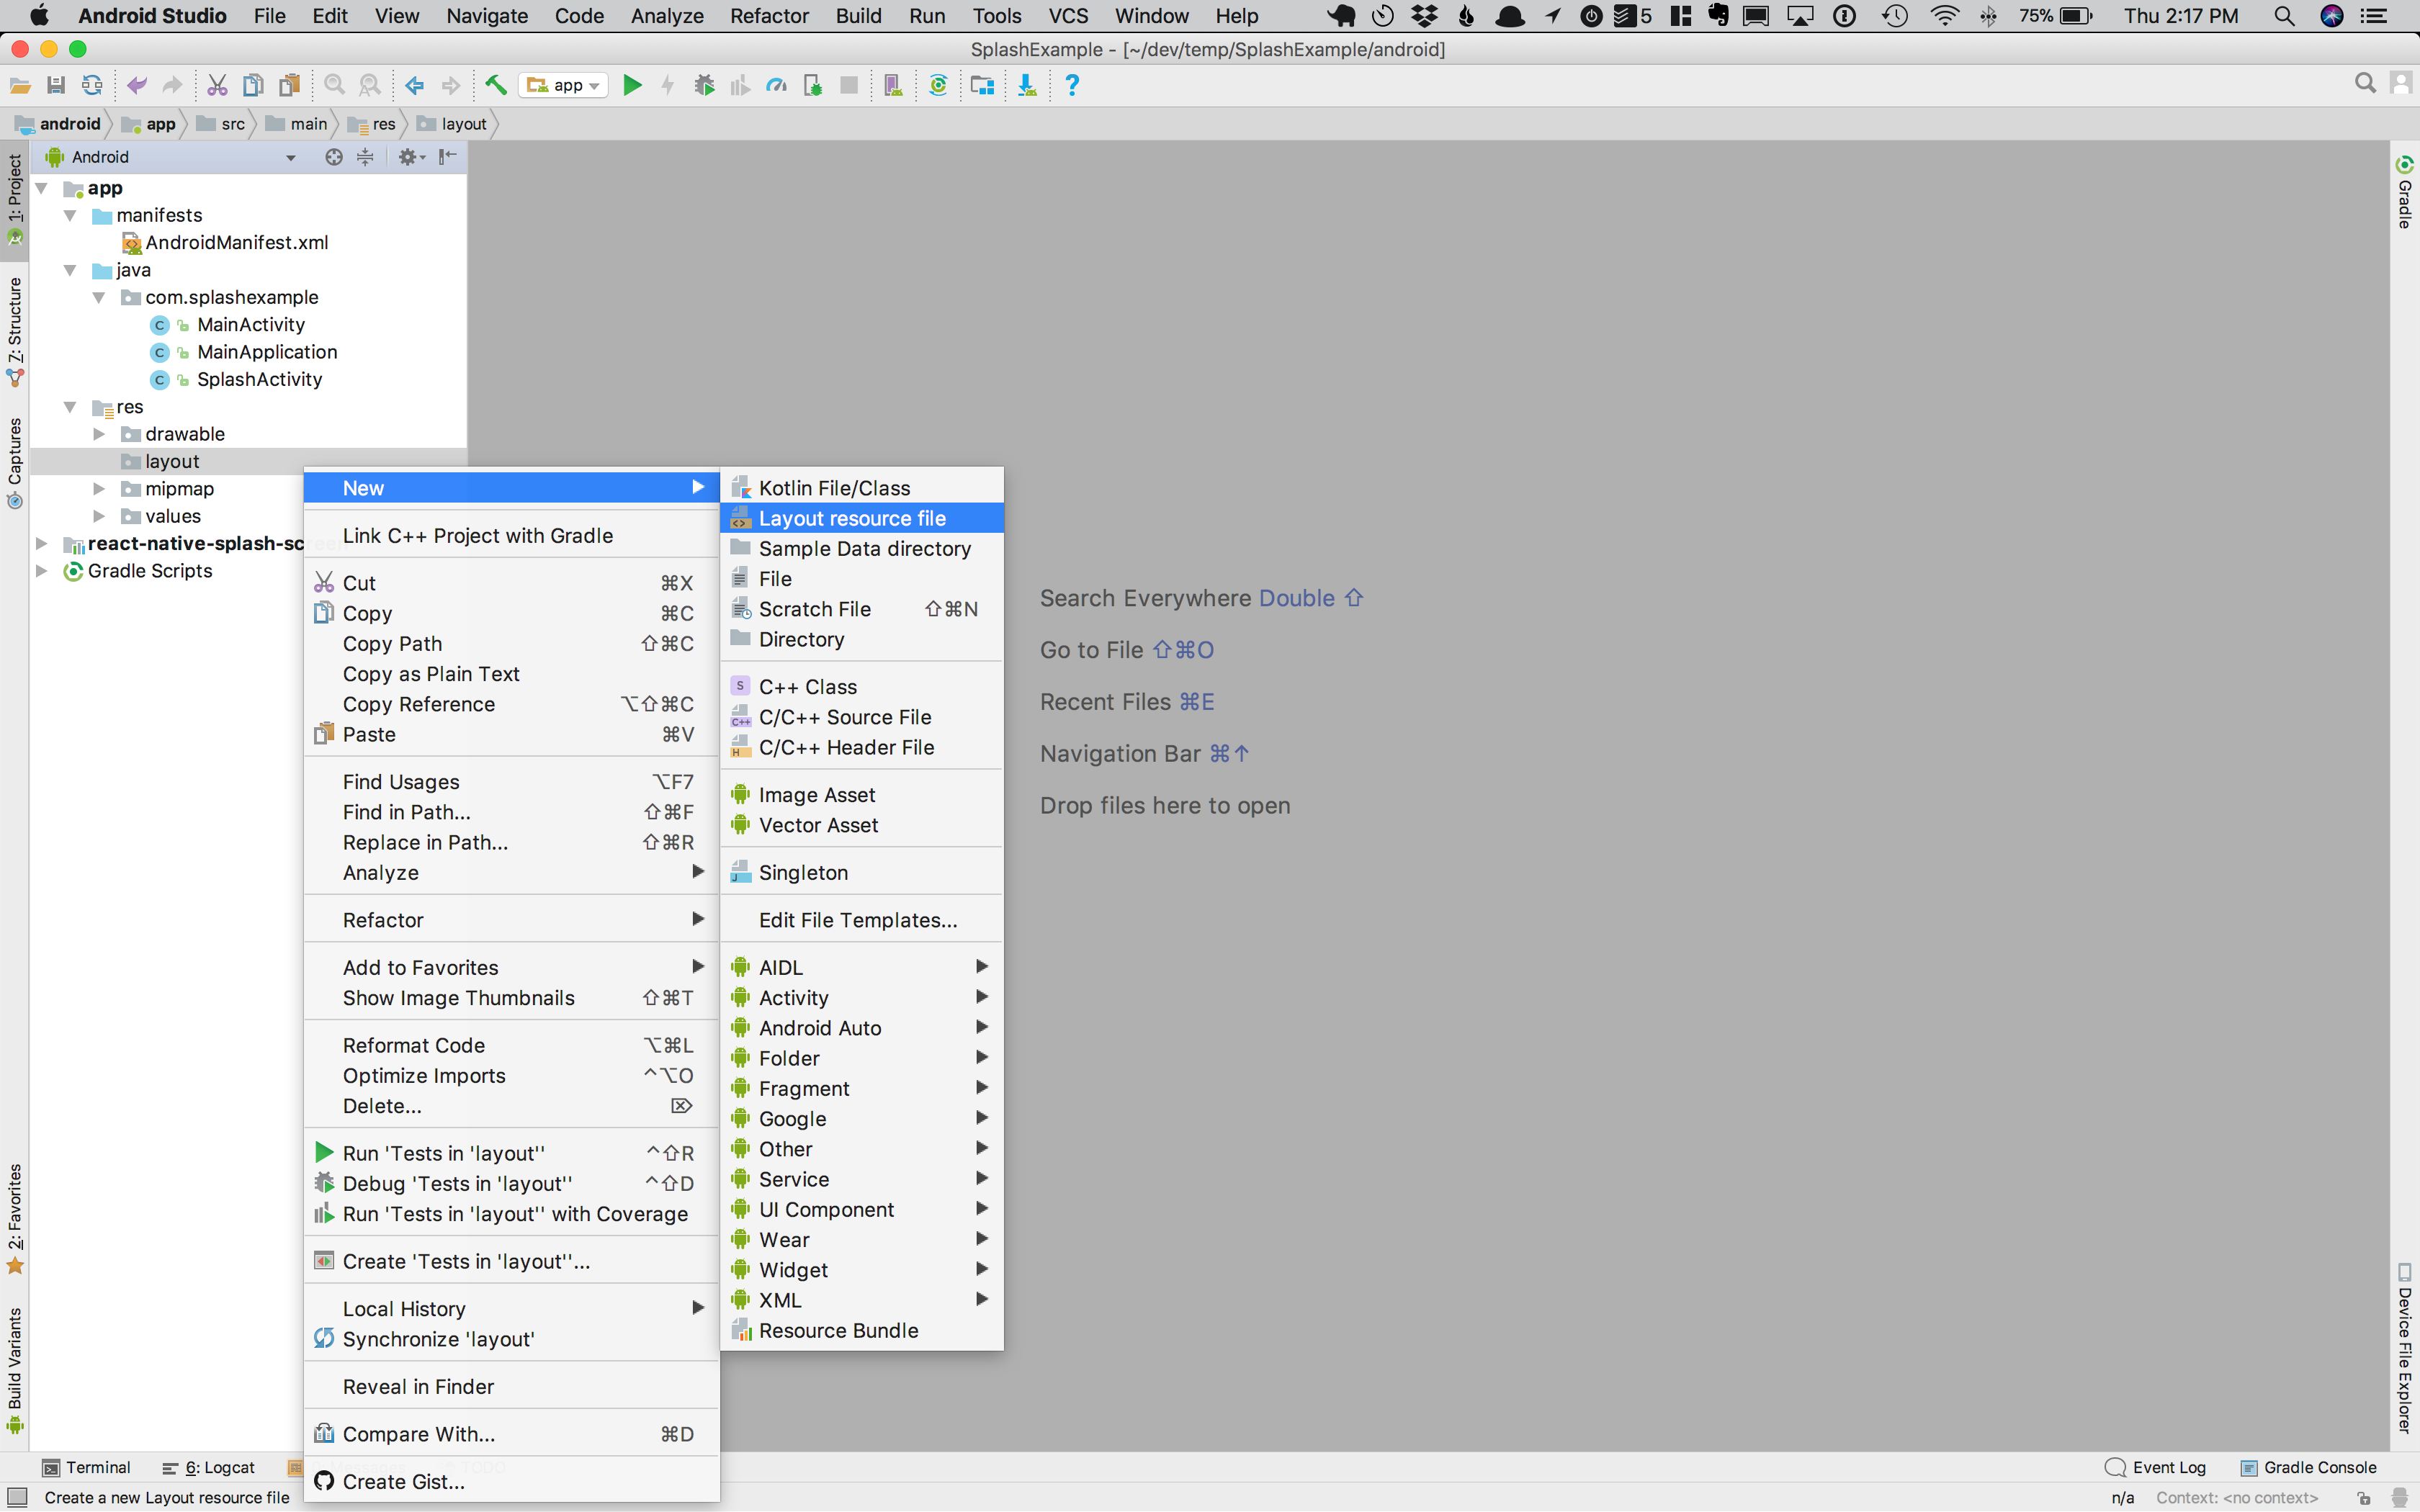

Android Studio has an interface very similar to Xcode’s interface builder, but I’m not sure how it works so I’m just going to modify the elements directly.
First I’m going to set the gravity of the
LinearLayout to center and the background color to blue. The rest is default setup.<?xml version="1.0" encoding="utf-8"?>
<LinearLayout xmlns:android="http://schemas.android.com/apk/res/android"
android:orientation="vertical"
android:layout_width="match_parent"
android:layout_height="match_parent"
android:background="@color/blue"
android:gravity="center">
</LinearLayout>
I’m then going to render an
ImageView to render the icon inside of the LinearLayout.<?xml version="1.0" encoding="utf-8"?>
<LinearLayout xmlns:android="http://schemas.android.com/apk/res/android"
android:orientation="vertical"
android:layout_width="match_parent"
android:layout_height="match_parent"
android:background="@color/blue"
android:gravity="center">
<ImageView
android:layout_width="200dp"
android:layout_height="200dp"
android:layout_marginTop="24dp"
android:src="@mipmap/icon"
/>
</LinearLayout>
About the properties on the
ImageView.android:layout_width,android:layout_height- set height and width. We want it to be the same as what we set inbackground_splash.xml.android:layout_marginTop- this is the height of the status bar. If we omit this then the icons won't quite be in the same spot and you'll see a "jump" when the splash screens switchandroid:src="@mipmap/icon"image to be rendered
Finally, inside of the
colors.xml file we need to add:<color name="primary_dark">#4F6D7A</color>
Otherwise the app will crash. This is a bug in
react-native-splash-screen and may be fixed in a future release.

I hope you found this helpful!
Did you hear there's a 12 word phrase you can say to your man... that will induce deep feelings of love and instinctual appeal for you deep inside his heart?
ReplyDeleteBecause hidden in these 12 words is a "secret signal" that fuels a man's instinct to love, treasure and guard you with his entire heart...
12 Words That Fuel A Man's Love Instinct
This instinct is so hardwired into a man's genetics that it will drive him to work better than ever before to build your relationship stronger.
Matter of fact, triggering this dominant instinct is absolutely essential to getting the best ever relationship with your man that the instance you send your man a "Secret Signal"...
...You will soon notice him expose his soul and heart for you in a way he never experienced before and he'll see you as the only woman in the world who has ever truly attracted him.