Let's build our first React Native application on Windows as development operating system and Android as target operating system.
Steps to create React Native application
1. First, you have to start your emulator (Android Emulator) and make it live.
2. Create a directory (ReactNative) in your any drive.
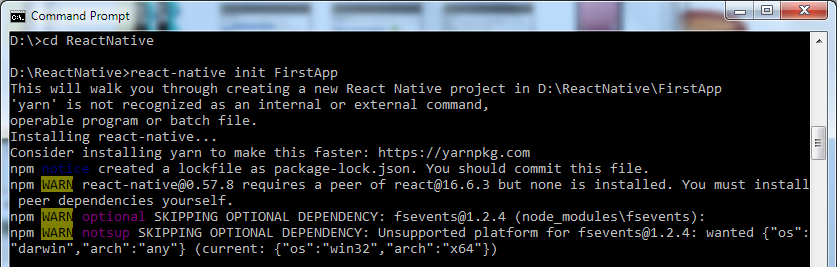
3. Open "Command Prompt" and go to your ReactNative directory.
4. Write a command react-native init FirstApp to initialize your app "FirstApp".
5. Go to your directory location "FirstApp" and run the command react-native run-android. It will start Node server and launch your application in virtual device emulator.
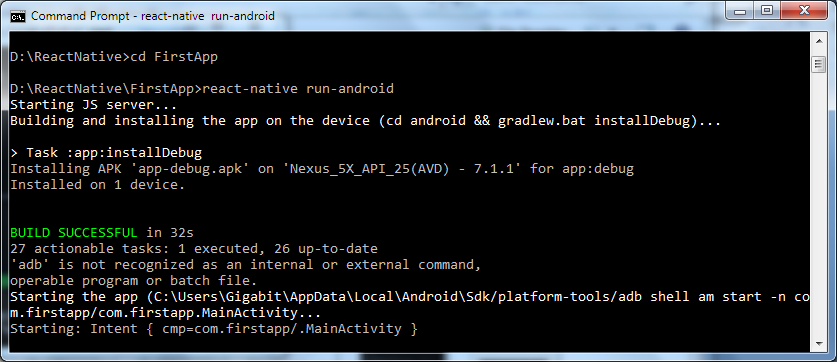
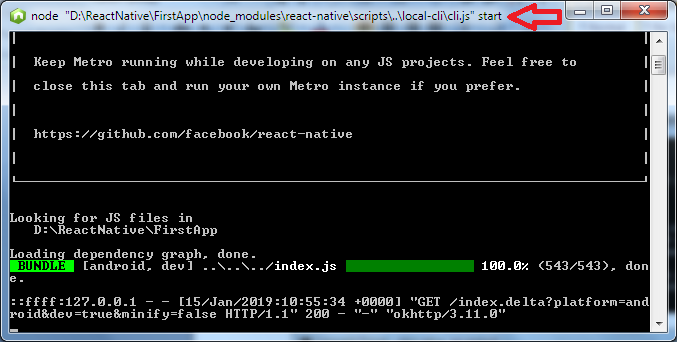
Output:

View Code of React Native Application
Open your one of the favorite JavaScript supportable IDE and open App.js file inside your FirstApp application.
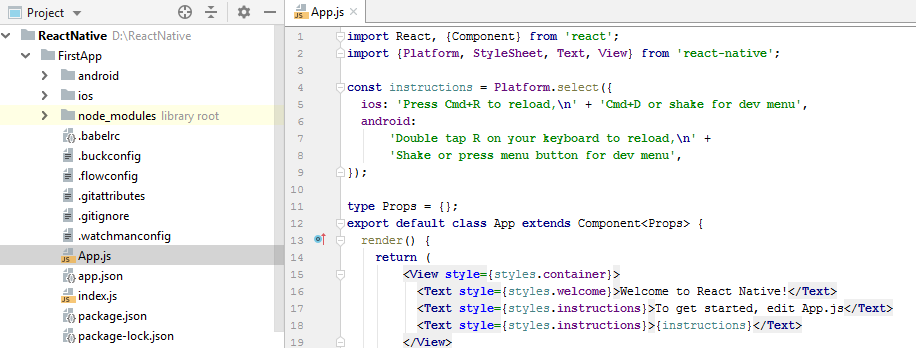
Code of default React Native first app.
App.js
index.js
Create a simple React Native "Hello World" application
Create a simple "Hello World" app by editing App.js file of FirstApp.
Save the application and reload by simply pressing twice "R" or Ctrl+M (Reload).
App.js
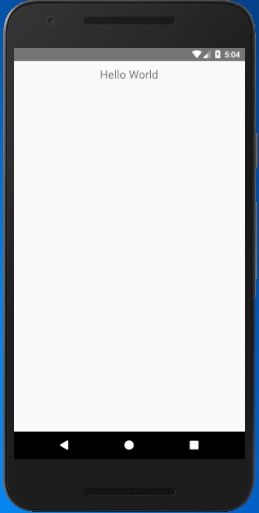
Output:

Edit simple React Native "Hello World" application
Edit React Native "Hello World" application using StyleSheet.
App.js
Output:
React Native Code Explanation
- import React, {Component} from 'react': imports the library and other components from react module and assign then to variable React.
- const instruction: sets to display the platform-specific message.
- export default class App extends Component
: defines the classes that extend the React Component. The export default class modifier makes the class "public". This block of code defines the components that represent the user interface. - render(): a function that returns a React element.
- return(): returns the result of layout and UI components.
- View: a container that supports the layout accessibility controls. It is a fundamental component for building the UI.
- Text: a React component for displaying text.
- style: a property used for styling the components using StyleSheet.
- styles: used to design individual components.
- {styles.instructions}>{instructions}:
- const styles = StyleSheet.create({}): The StyleSheet class creates the style object that controls the layout and appearance of components. It is similar to Cascading Style Sheets (CSS) used on the Web.
Comments
Post a Comment
Thank You.