You can use Postman to work with our REST API. Follow the screenshots below to see how to use Postman for our Create notification API endpoint.
Create notification
1. Select POST
add:
https://onesignal.com/api/v1/notifications
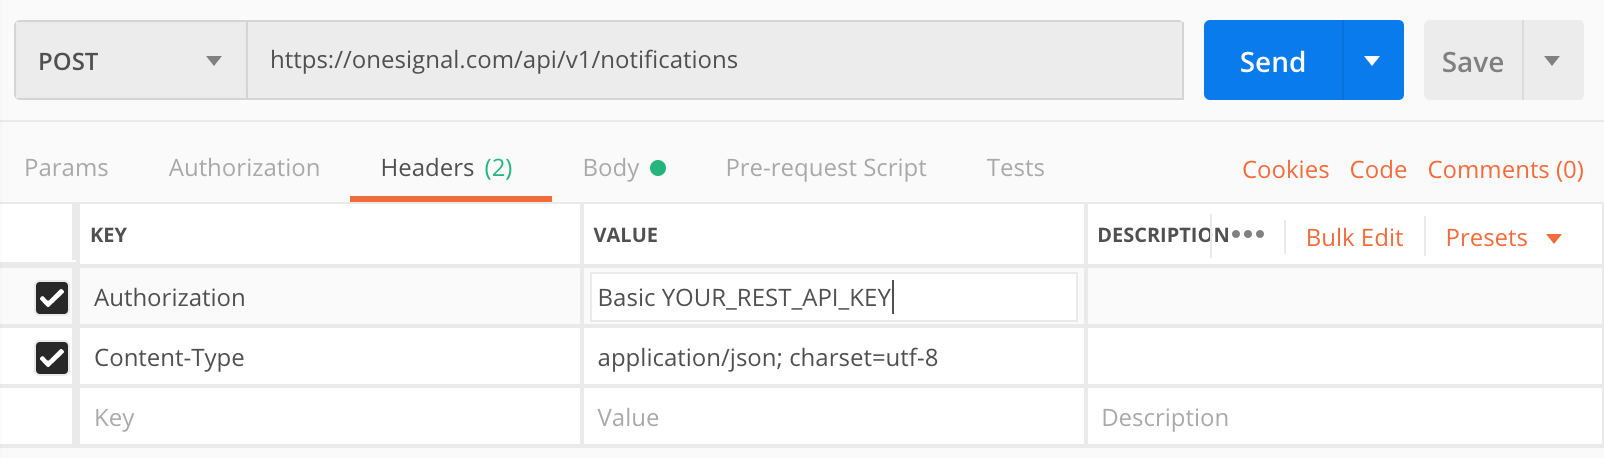
2. Create the Headers
Line 1 key:
Replace ONESIGNAL_REST_API_KEY with the value found in your OneSignal Dashboard > App Settings > Keys & IDs
Authorization value: Basic ONESIGNAL_REST_API_KEYReplace ONESIGNAL_REST_API_KEY with the value found in your OneSignal Dashboard > App Settings > Keys & IDs
Line 2 key:
You MUST use this value with postman for our API.
Content-Type value: application/jsonYou MUST use this value with postman for our API.
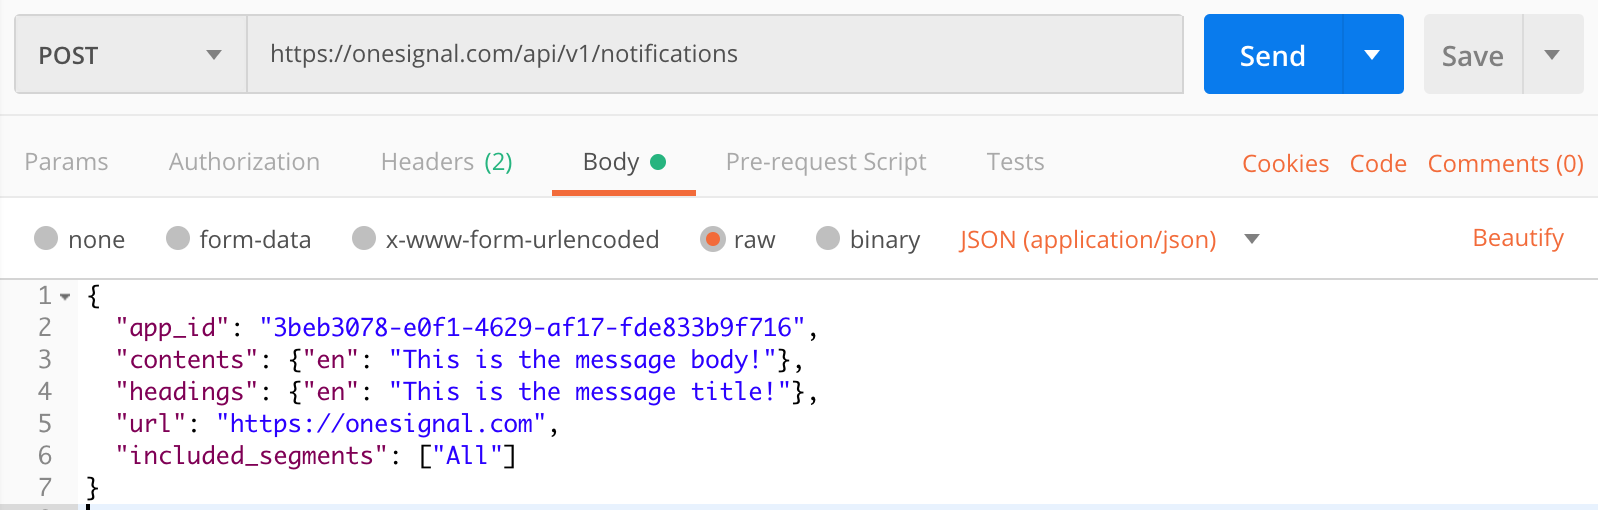
3. Add the Body
select
add your JSON
rawadd your JSON
4. Send and Save
You can now click Send to send this message to the "All" users segment.
For more targeting parameters, you can use one of the following. Do not use multiple targeting parameters in a single call.
"included_segments""filters""include_player_ids" or "include_external_user_ids"
Don't forget to press Save in Postman to re-use this call.
Targeting Multiple OneSignal Apps
Now that you have Postman setup to send a push notification to one of your OneSignal apps, you can reuse this call for other OneSignal apps by selecting "Duplicate" next to the call and replacing the
app_id and REST_API_KEY for the other app.
Furthermore, once you setup the scripts and add the notification content, you can use Postman's Collections to send to all apps at once. Be careful when testing not to spam all users on all apps!
It is recommended to add a
60000 ms delay when running all scripts.
View Apps
OneSignal has an API for viewing all your apps or only specific apps you want.
In this quick example, we will look at viewing all app data.
1. Setup GET Url
In the Postman interface, select the GET call and add the url:
https://onesignal.com/api/v1/apps
2. Add User Auth Key
This call Requires your OneSignal User Auth Key, (not REST API Key) which is available in Keys & IDs.
In Postman under Headers use the Authorization key and for value use:
Basic YOUR_USER_AUTH_KEY Make sure to put your User Auth key.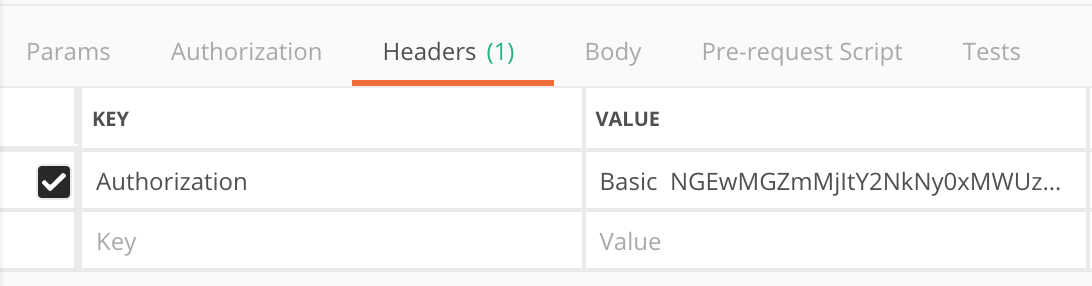
3. Send and Save
Once you do that, you can click Send on Postman to get all your app data.
Common important data would be:
"id"
OneSignal App Id
"players"
Total Users
"messageable_players"
Subscribers
Don't forget to press Save to keep this call for later.
CSV User Export
1. Download Postman (if you have not done so already).
You can download postman here: https://www.getpostman.com/
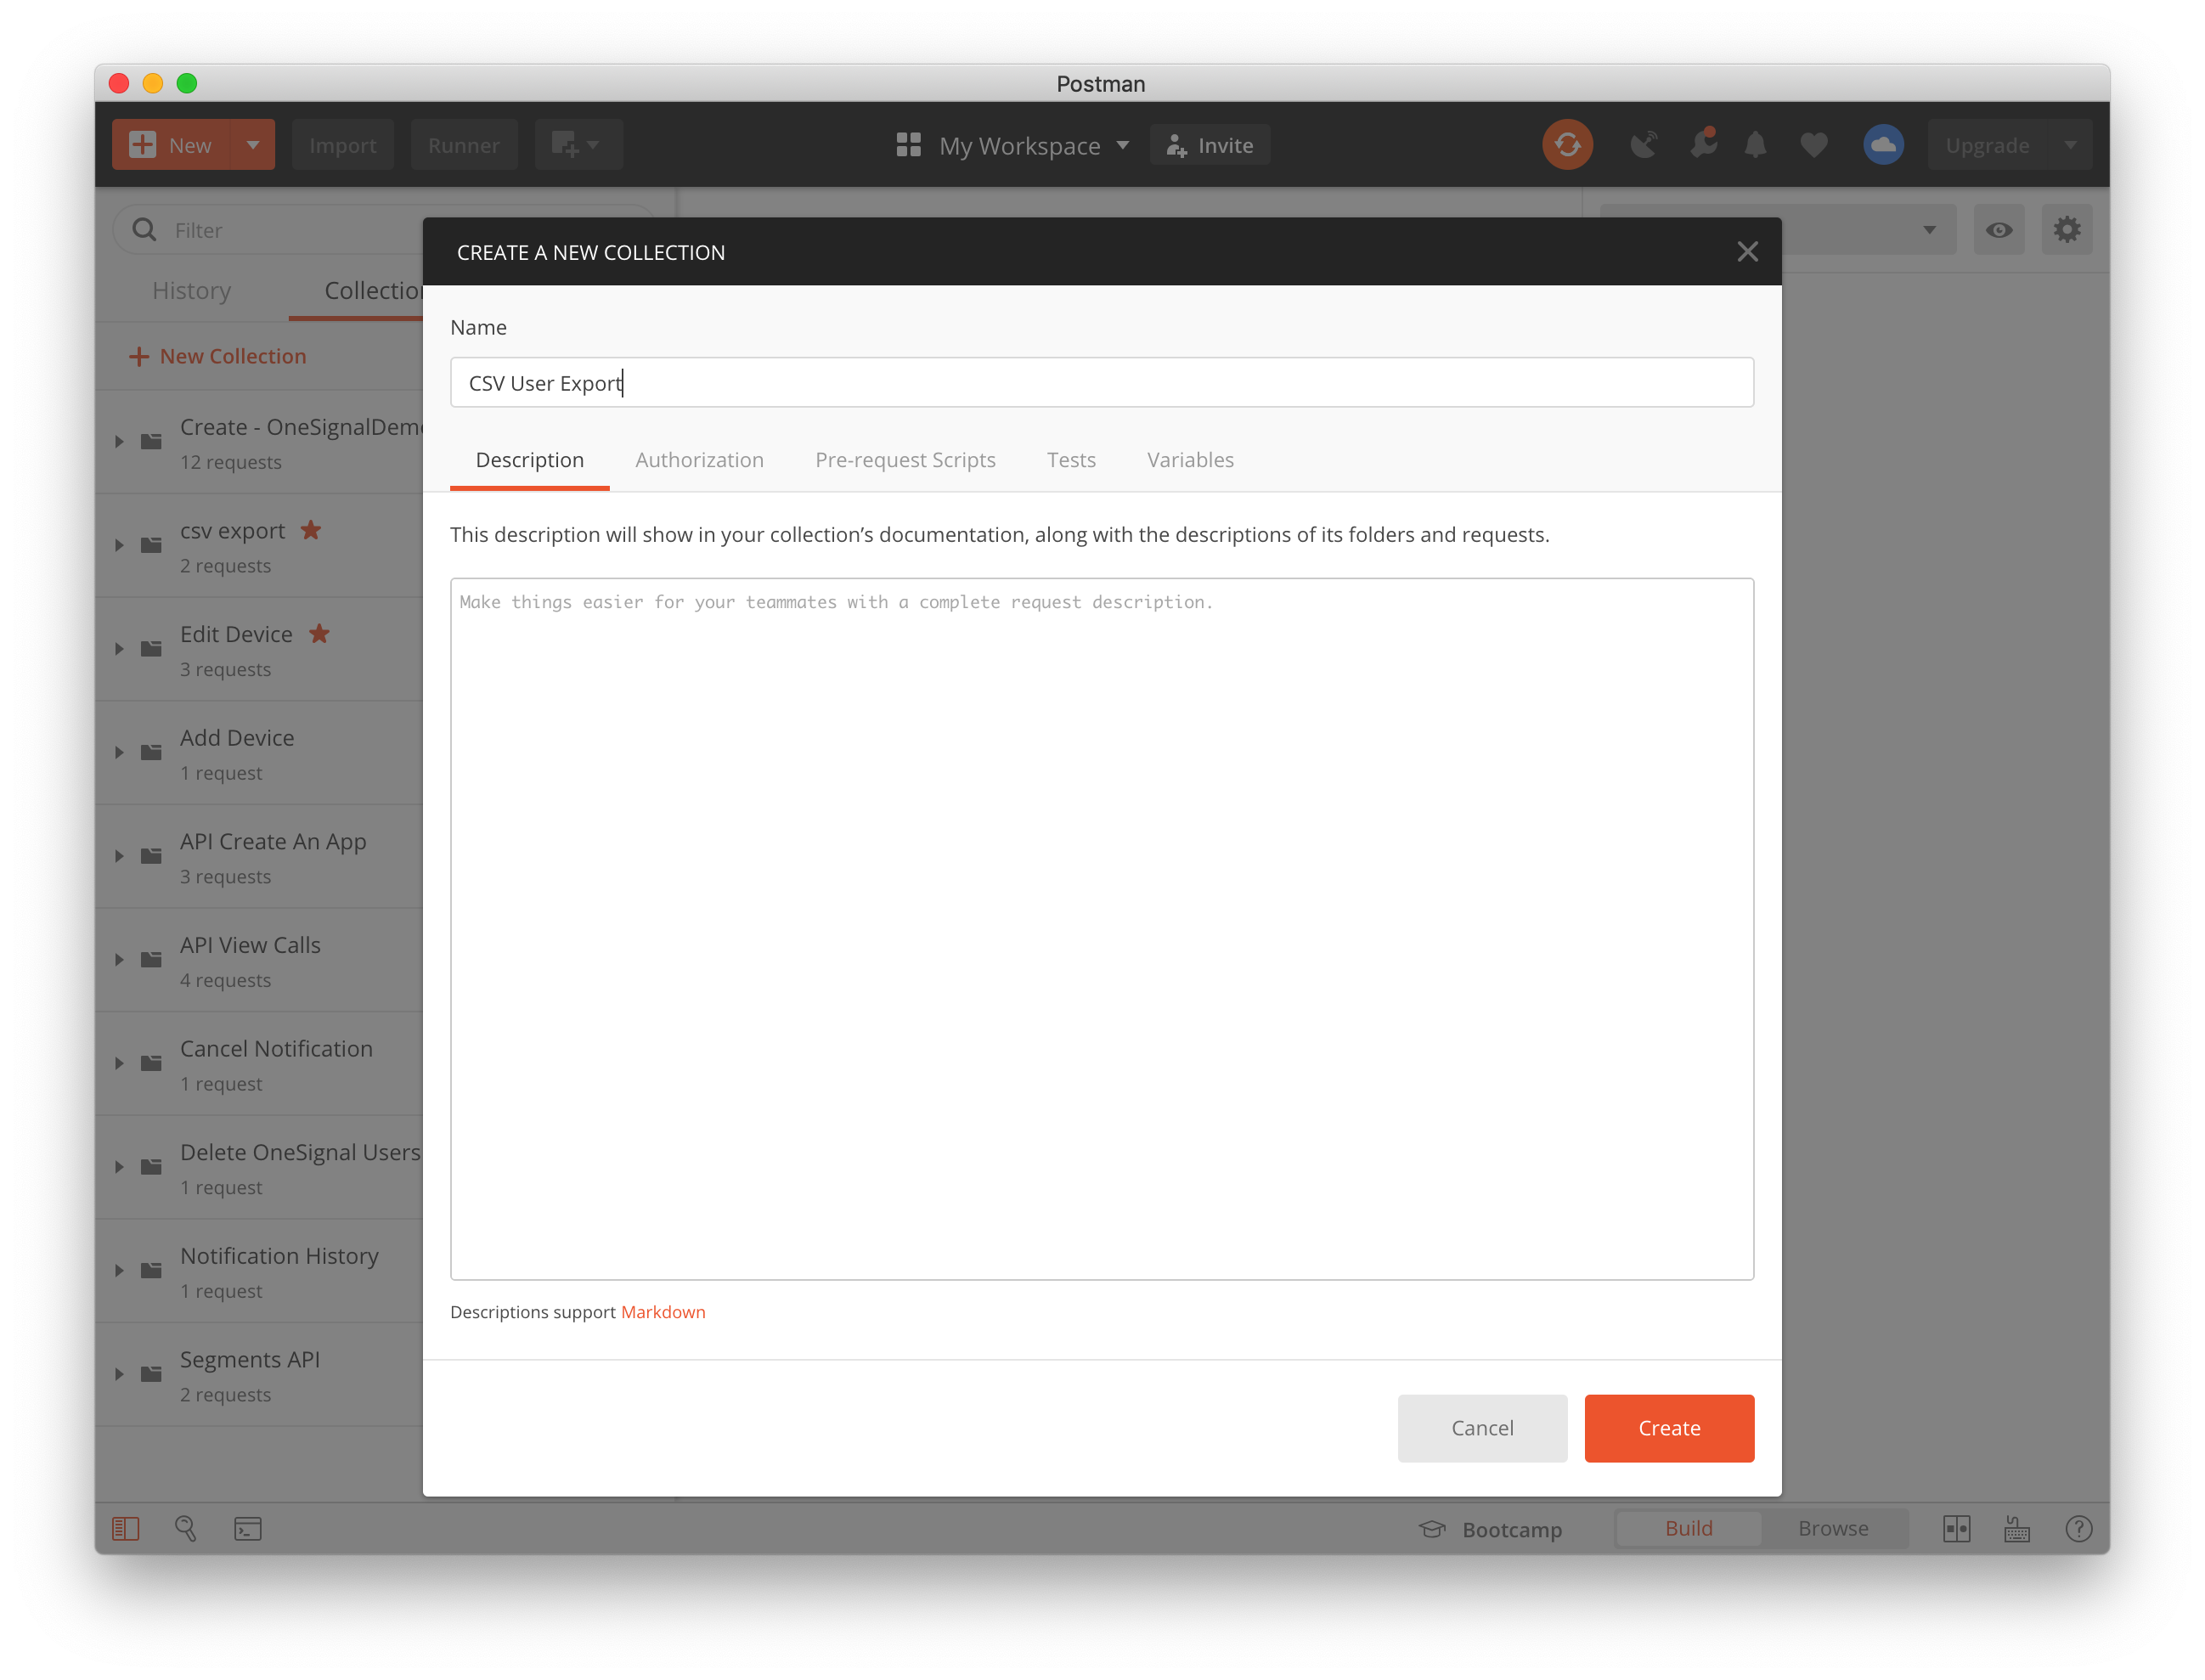
2. Create Collection
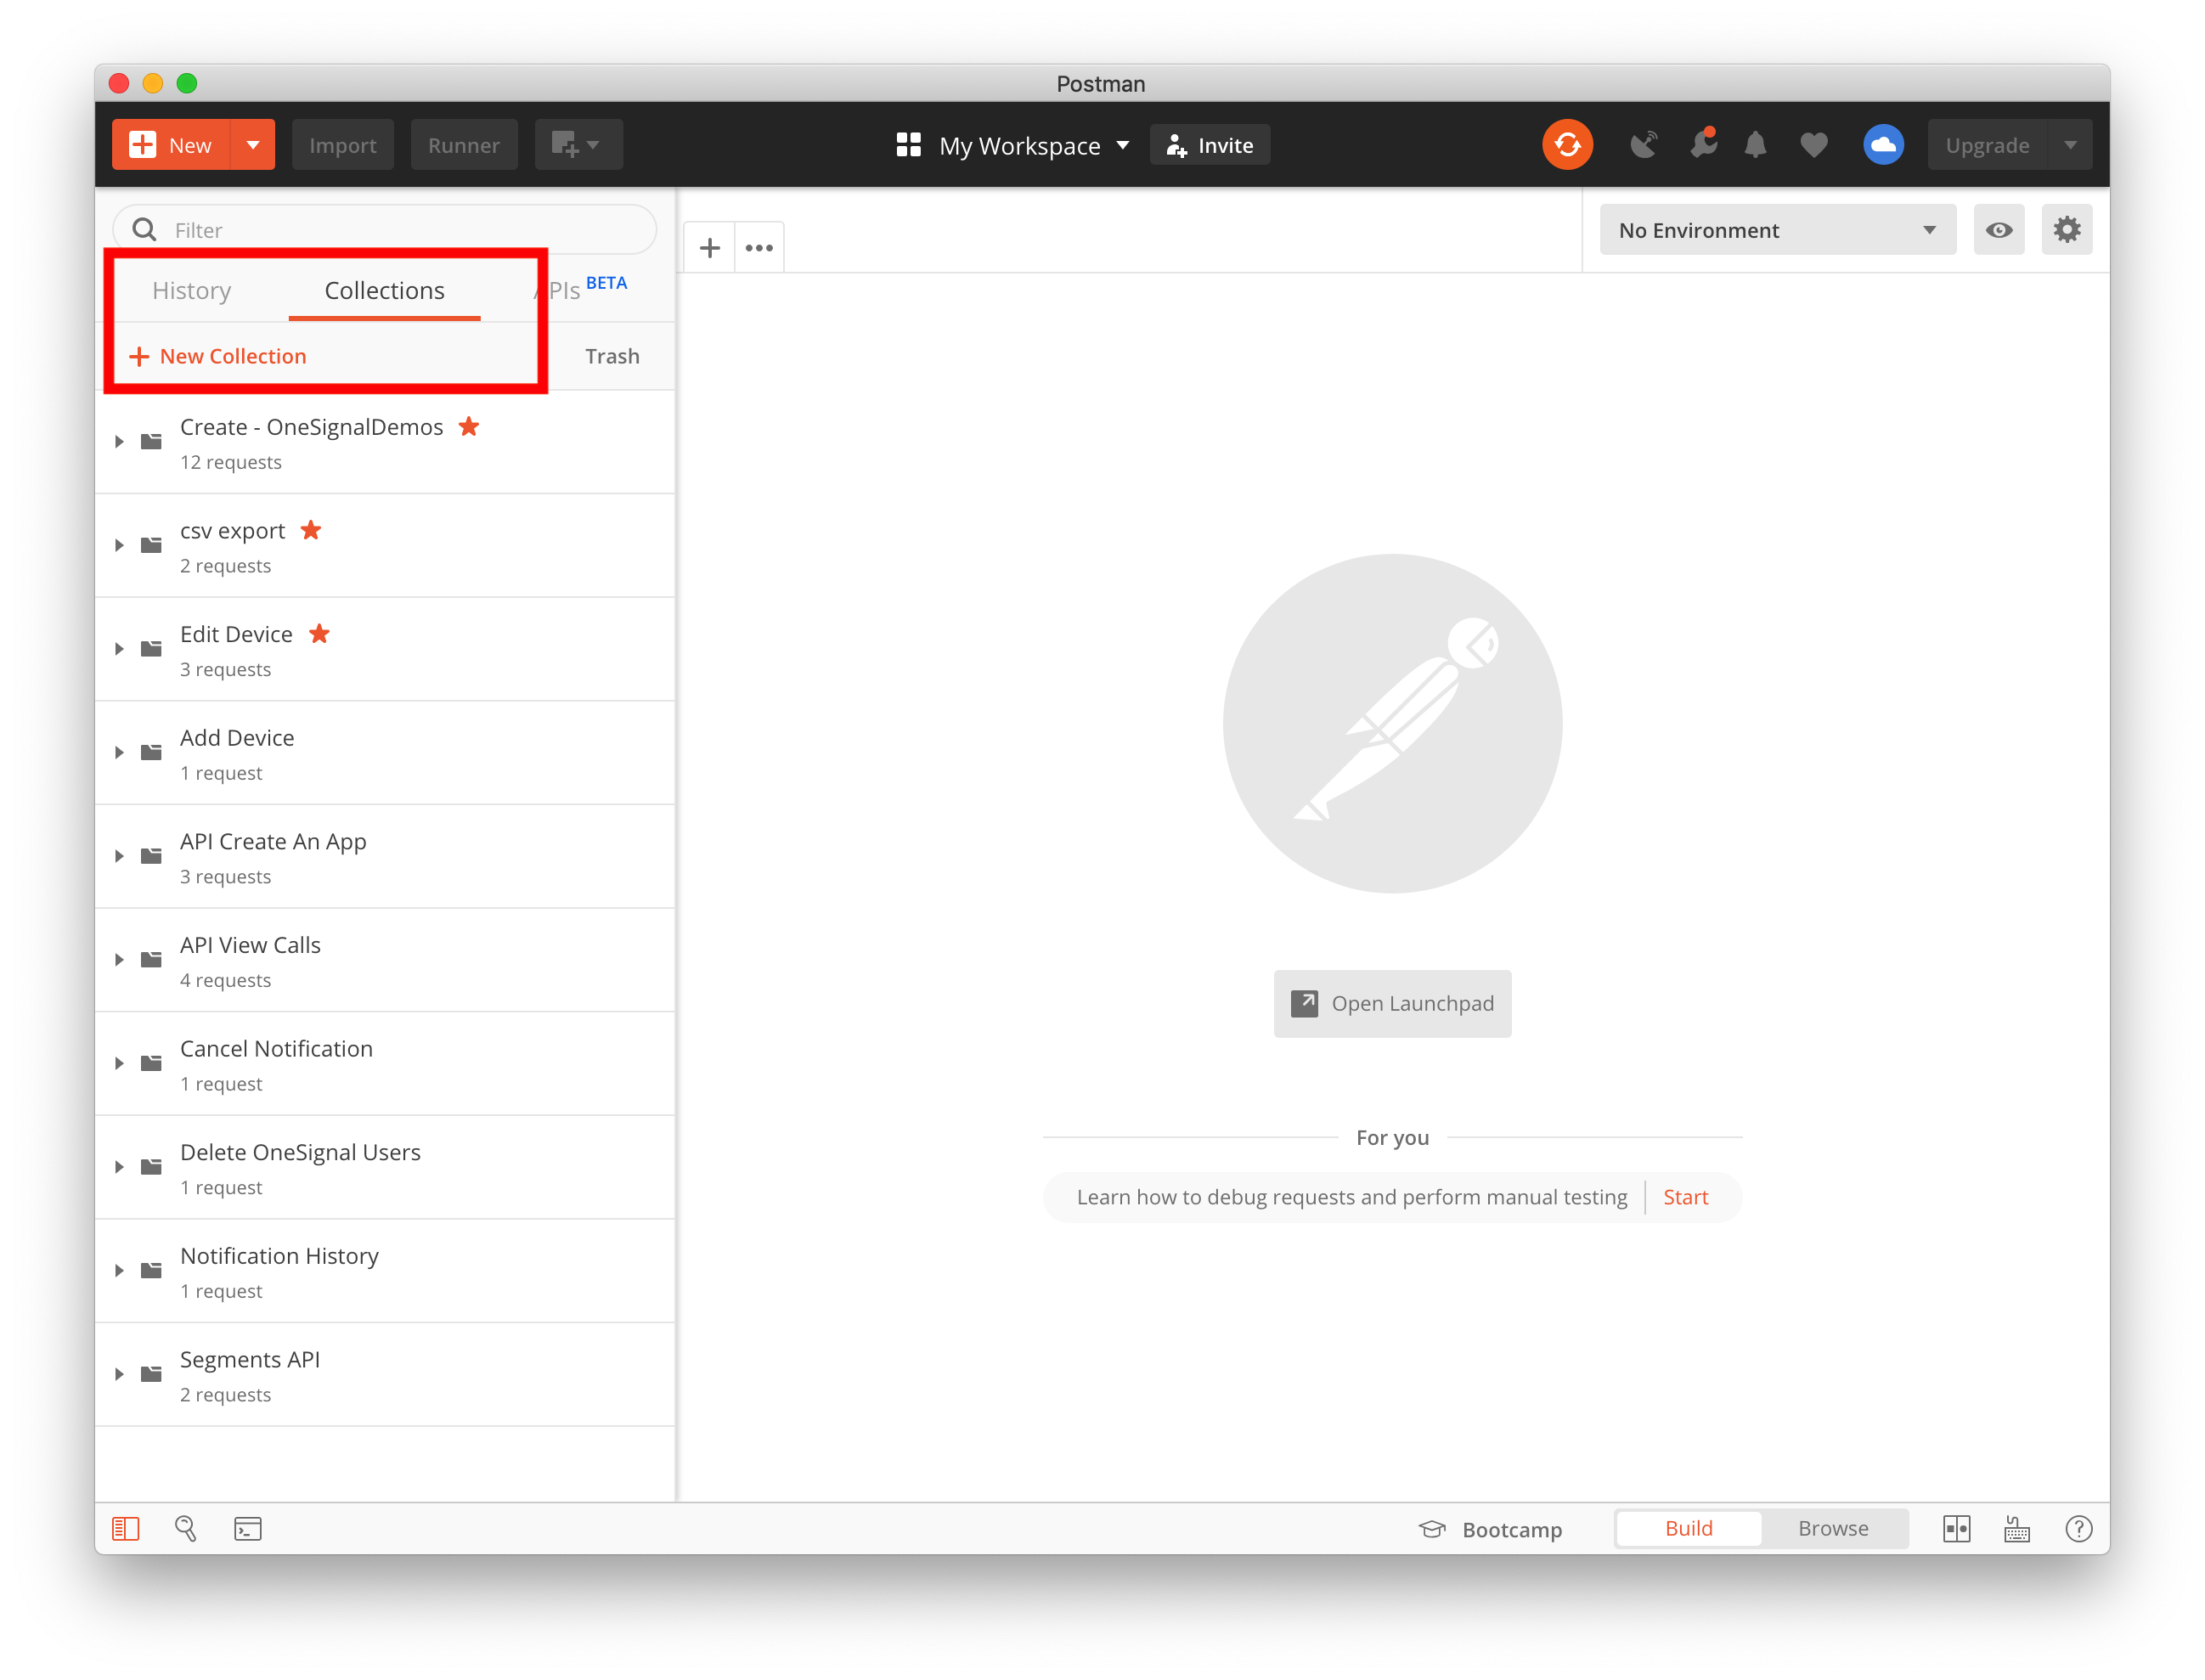
Open Postman and Select Collections > + New Collection
Name the collection "CSV User Export" and click "Create"
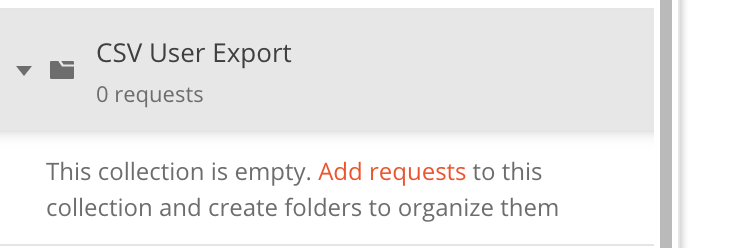
3. Create the Request
Select the collection and click "Add request"
Name the Request "CSV User Export" and "Save to CSV User Export"
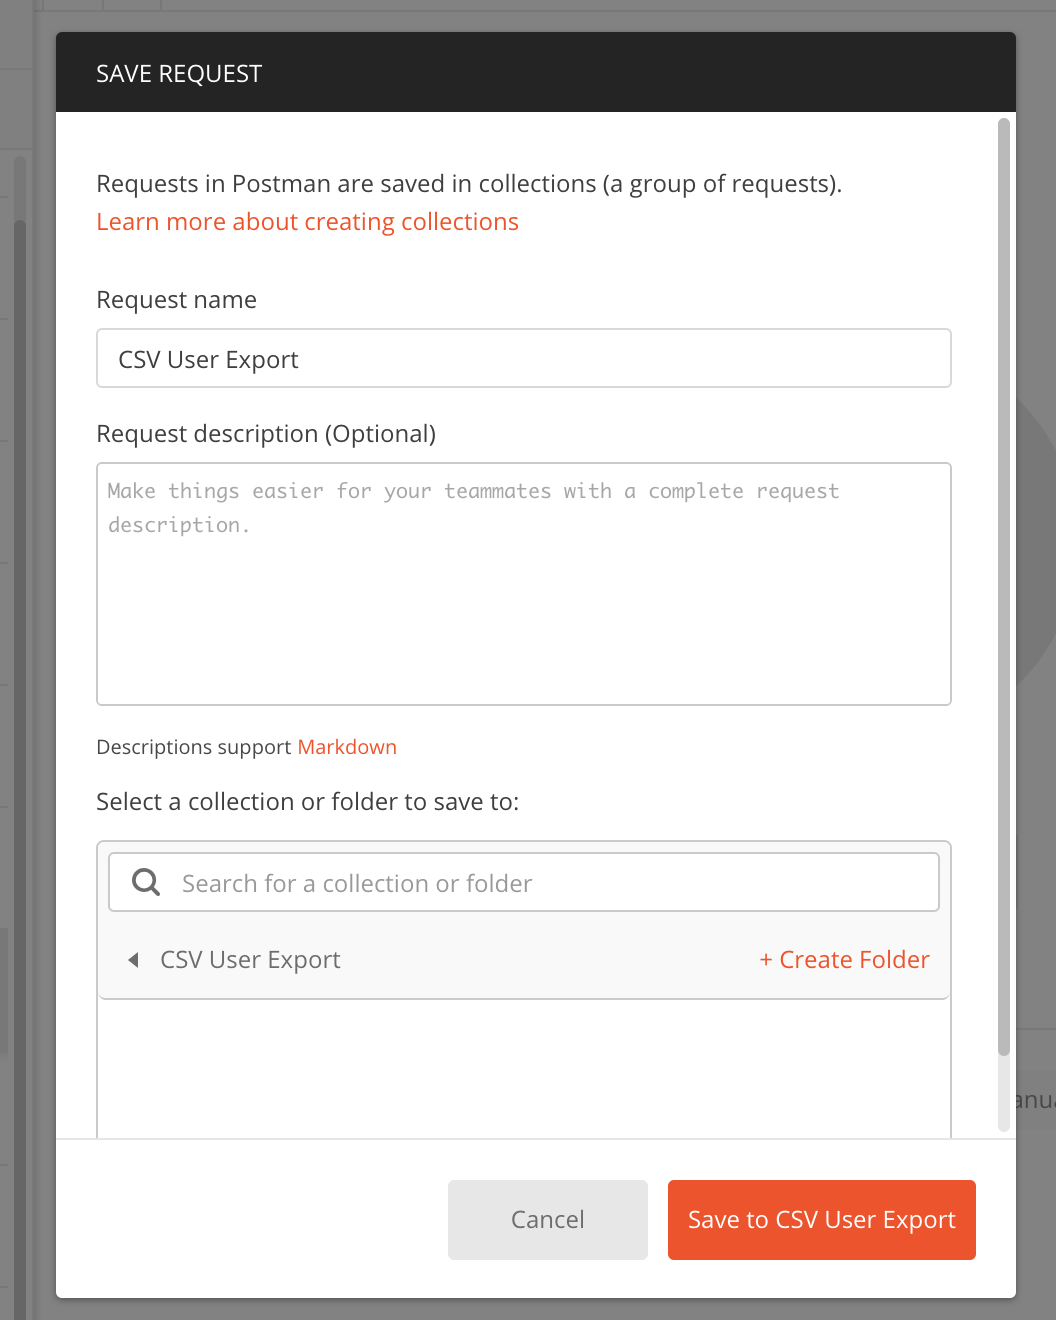
Select the Request in the Collection
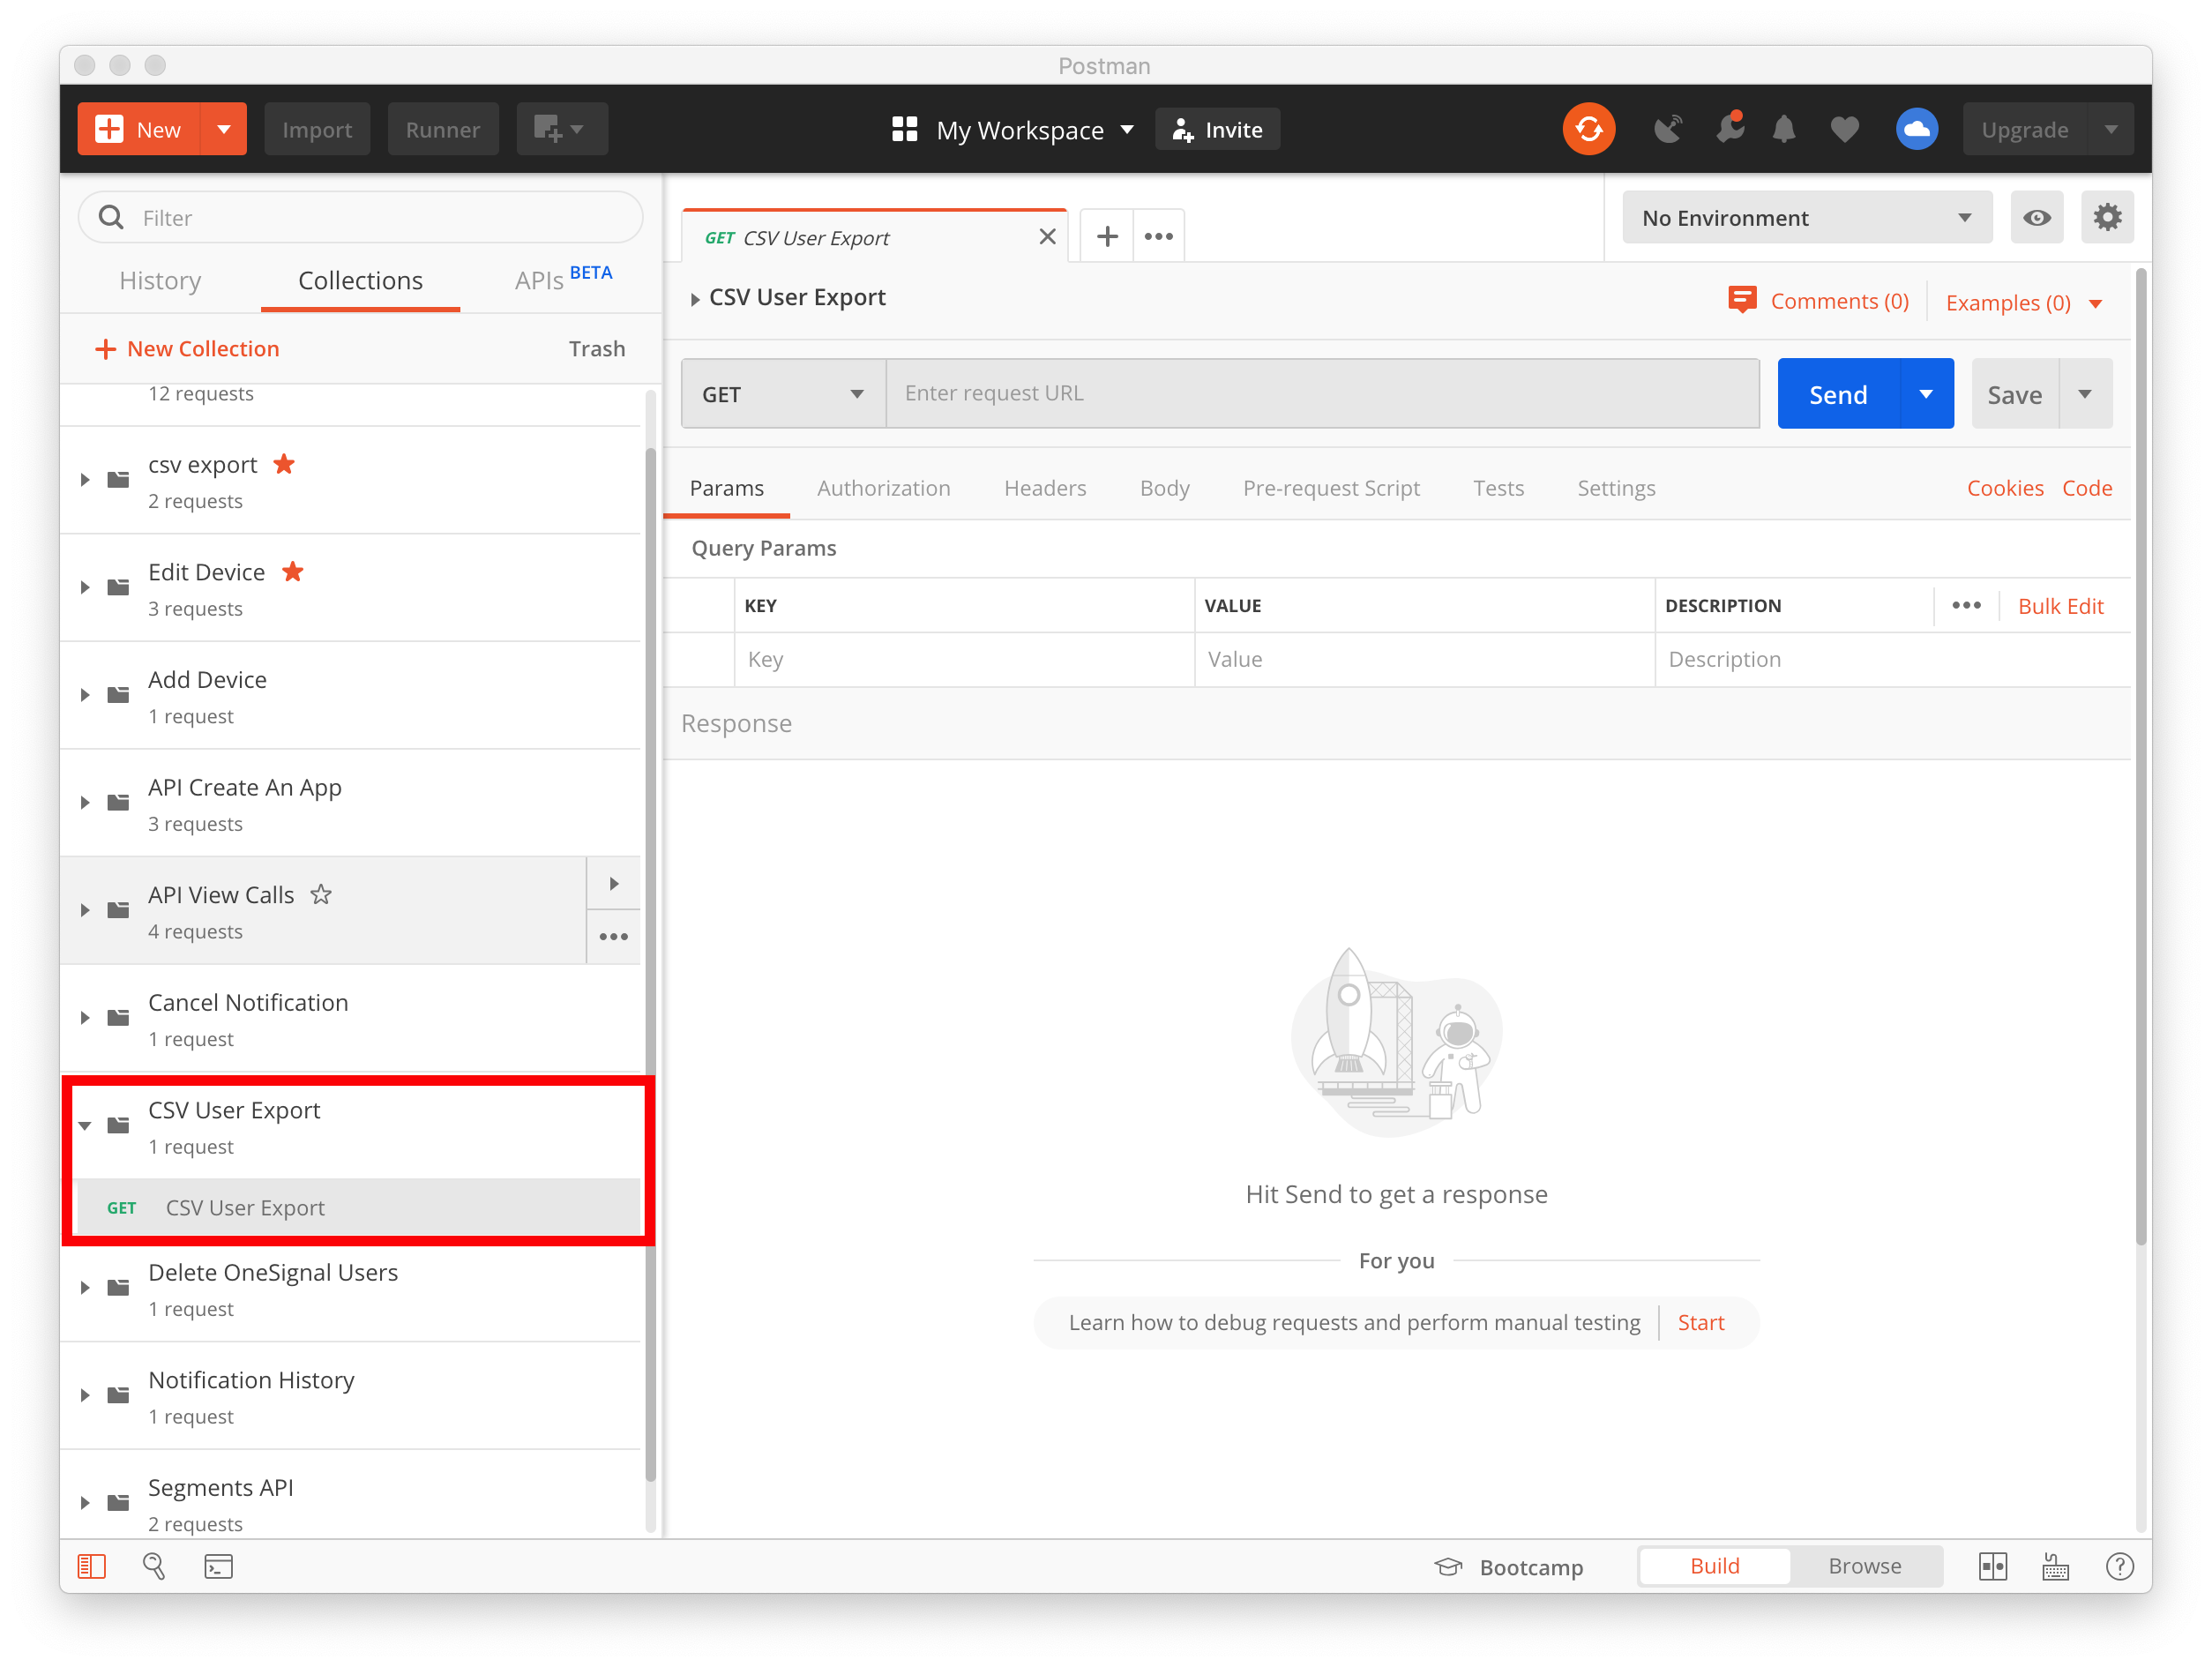
Now that this is created, you can re-use it as much as you like.
4. Setup the Request
1 - Select POST
2 - Past this url
2 - Past this url
https://onesignal.com/api/v1/players/csv_export?app_id=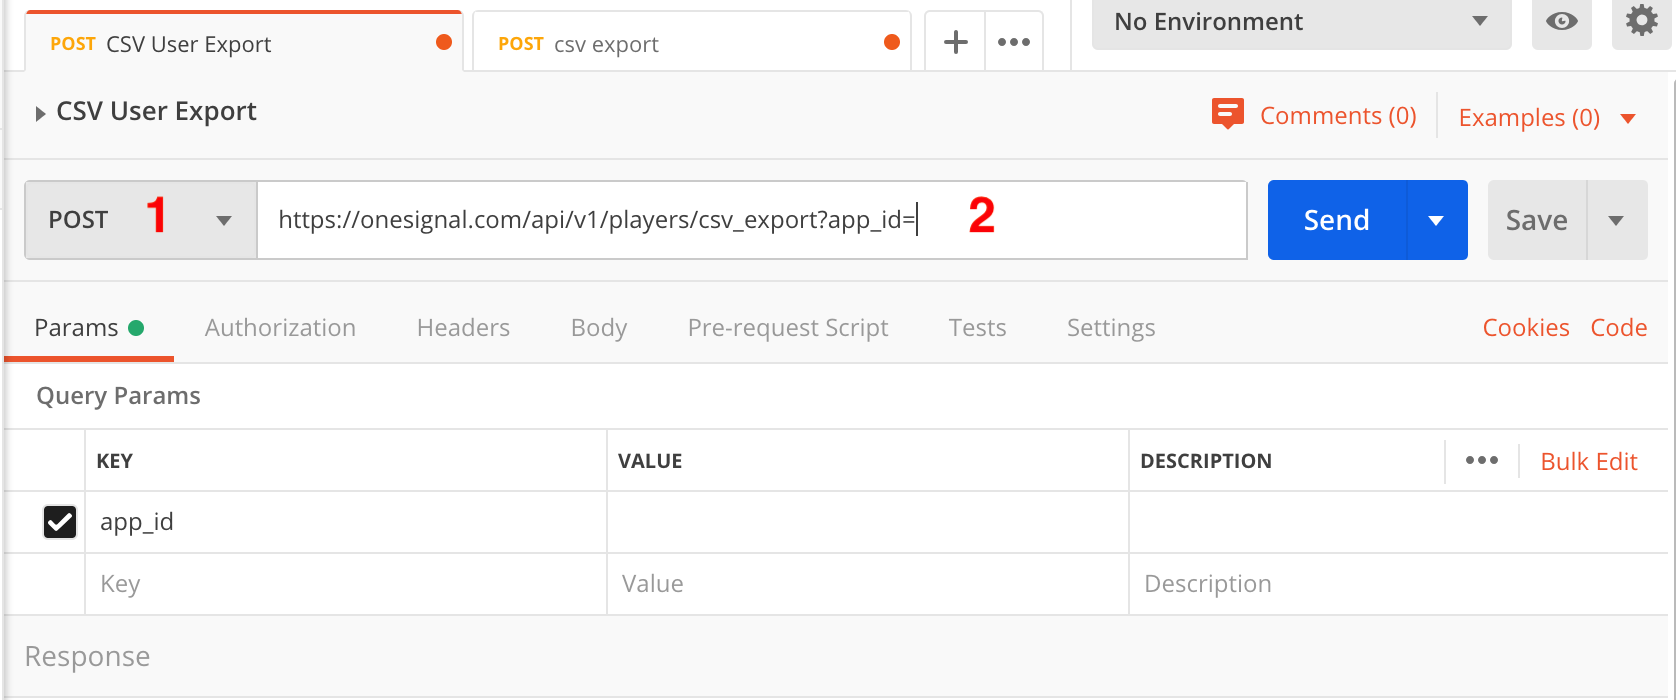
3 - Select Headers
4 - Add
5 - Next to Authorization set
6 - Next to "Content-Type" add
4 - Add
Authorization and Content-Type keys5 - Next to Authorization set
Basic YOUR_REST_API_KEY replace with your actual REST API Key6 - Next to "Content-Type" add
application/json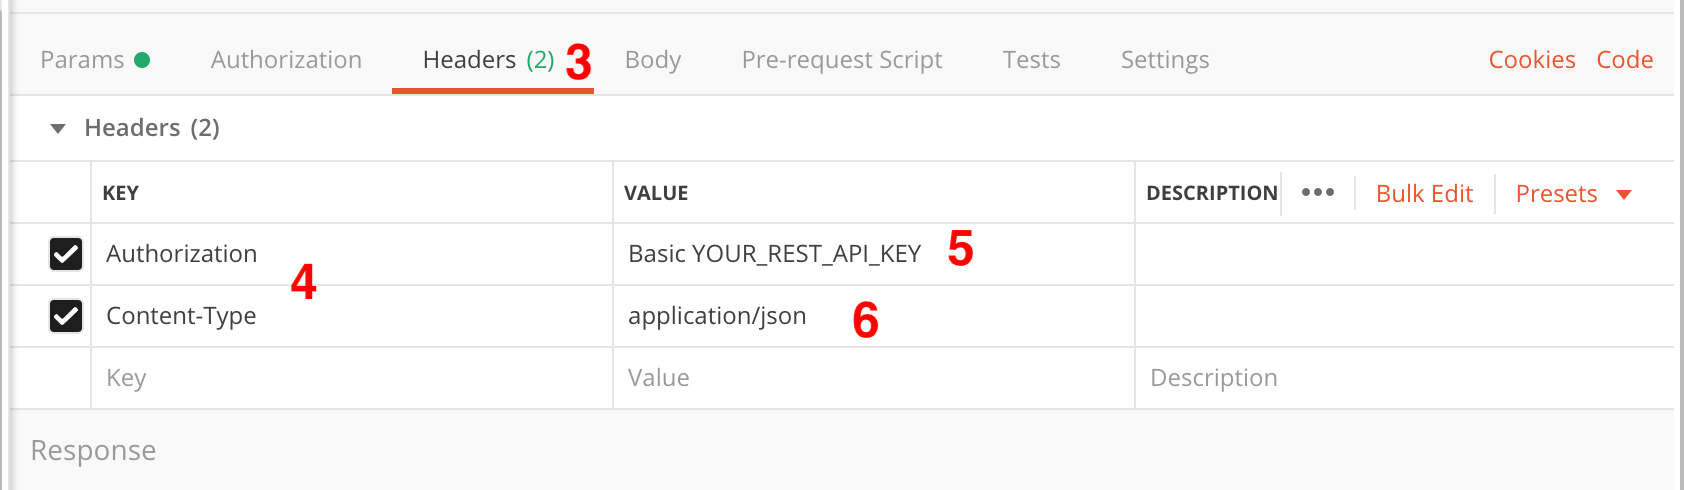
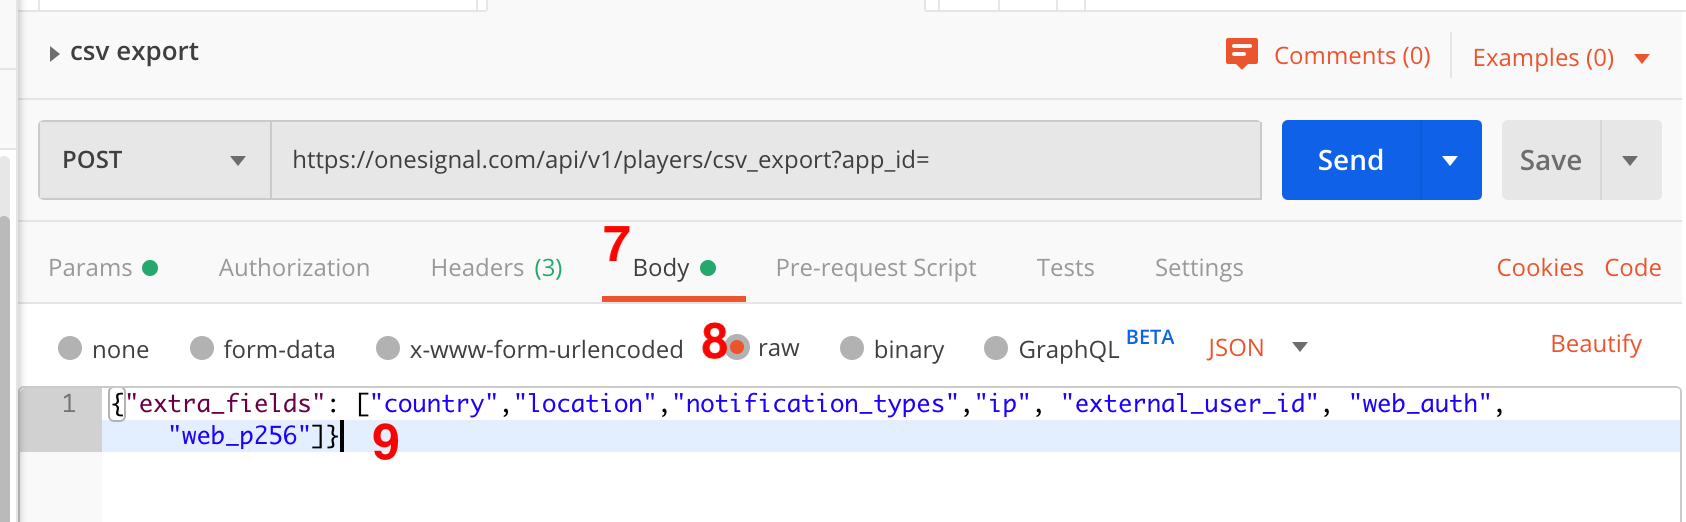
Optional Add Extra Data - use this if you need the p256, web_auth, country, location and/or ip address.
7 - Select Body
8 - Select raw
9 - add this json
8 - Select raw
9 - add this json
{"extra_fields": ["country","location","notification_types","ip", "external_user_id", "web_auth", "web_p256"]}
5. Make the request and open the file
Click "Send" and copy-paste the provided URL into a browser.
The URL you need to put in the browser will look like this:
https://onesignal.s3.amazonaws.com/csv_exports/3beb3078-e0f1-4629-af17-fde833b9f716/users_59891cdc338b8b5eb128438512a60b83_2020-01-22.csv.gz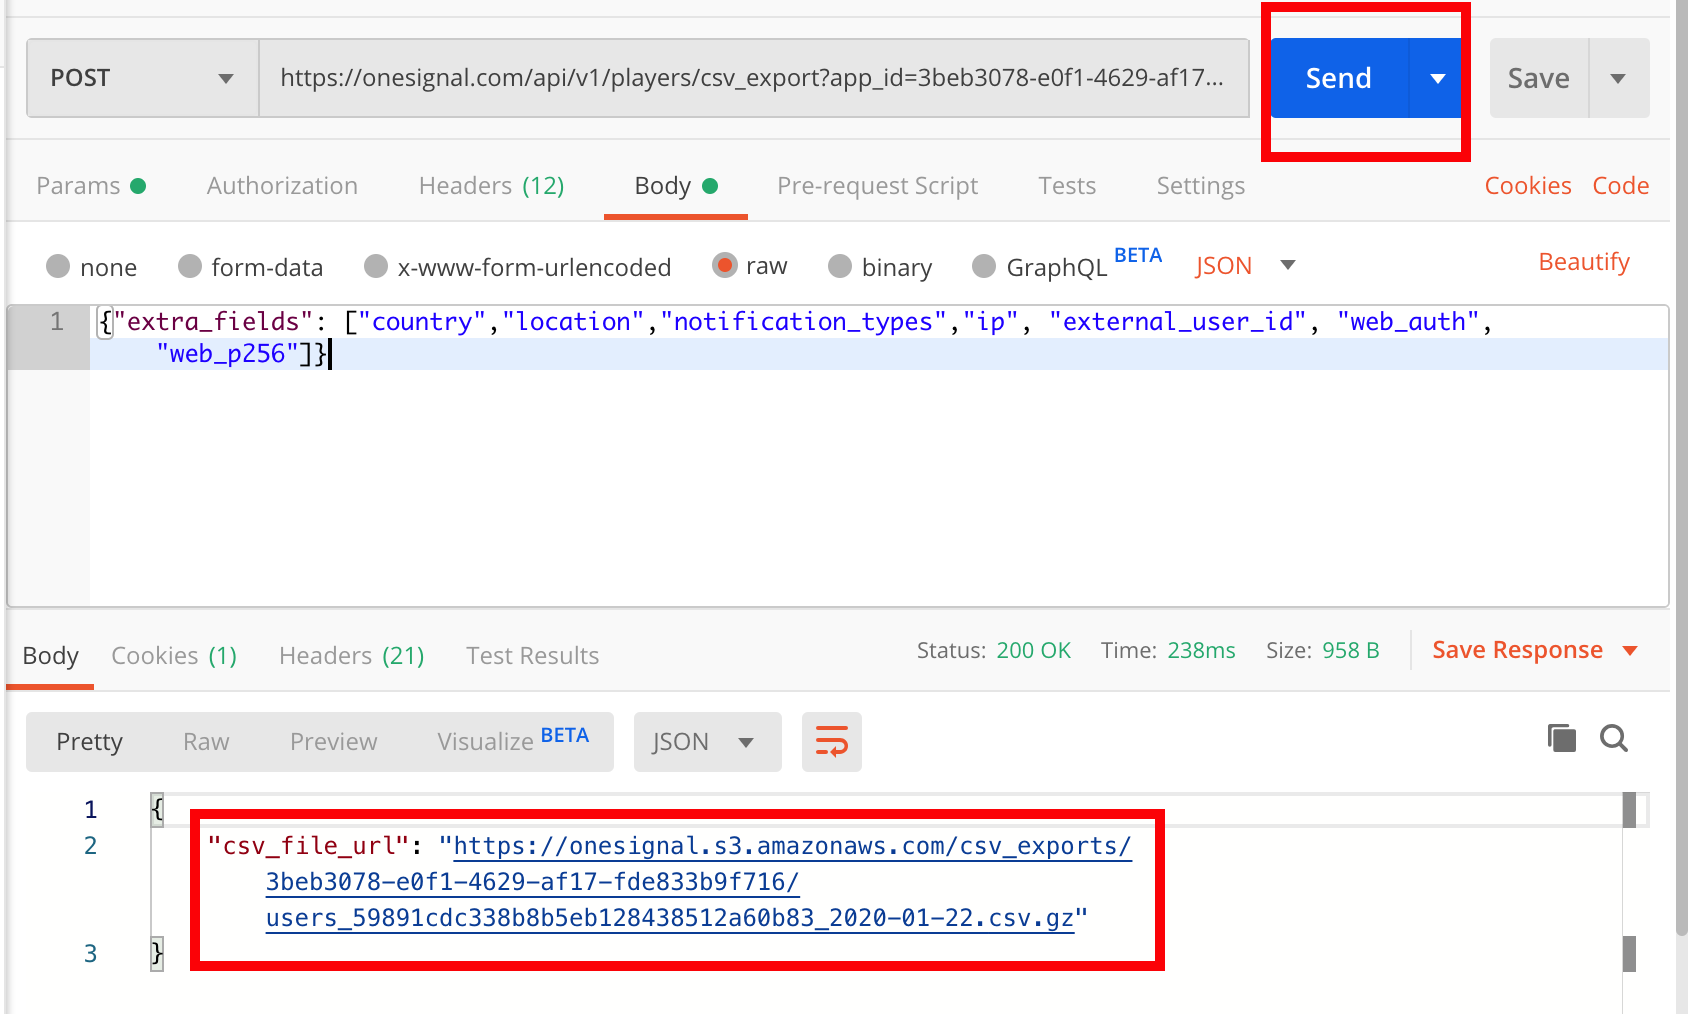
When you add this URL To the browser, you might see this page:

This means the data is loading, please wait 10 to 20 minutes (depending on how big the app is) and refresh the page, eventually this will download the list.
Comments
Post a Comment
Thank You.