How do you work with GraphQL in React Native? Here's a step-by-step tutorial to get you started!
In this article, let's look at how to setup, integrate and fetch data from a GraphQL API in a React Native app.
Prerequisites
Before we begin, here's some things you should know:
- Any code editor
- Basic React Native knowledge (i.e. FlatList, Text, View, etc.)
- Basic GraphQL knowledge (i.e. what it is, how it works)
If you need a refresher on GraphQL, please read my Introduction to GraphQL article
Step 1: Create React Native project
If you haven't already, install Expo CLI.
npm install -g expo-cli
Then, create a new expo project using the following command:
expo init myApp
Step 2: Install dependencies
Now we install these 2 dependencies by running:
npm install @apollo/client graphql
apollo/client: connects client to a GraphQL APIgraphql: provides GraphQL capabilities
To start the app, run:
expo start
Step 3: Integrating Apollo Client
To integrate Apollo Client in our React Native app, we need to first import and initialize a new ApolloClient in our App component.
import { ApolloClient, InMemoryCache, ApolloProvider } from '@apollo/client';

// Initialize Apollo Client
const client = new ApolloClient({
  uri: 'https://countries.trevorblades.com/graphql',
  cache: new InMemoryCache()
});
The uri refers to the GraphQL API endpoint that we will fetch data from. In this tutorial, I will be fetching some country data from the url: https://countries.trevorblades.com/graphql.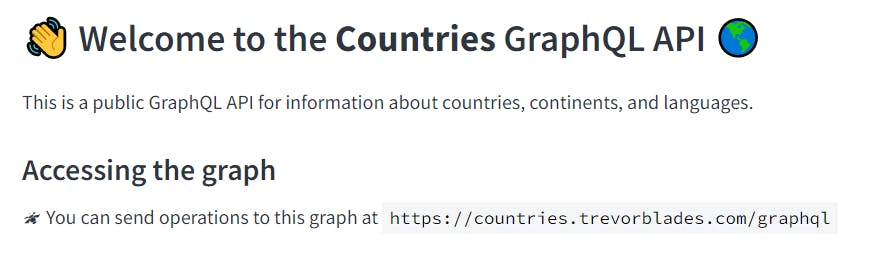
This is a free-to-use GraphQL API for beginners to test and use. It even comes with an explorer to show you how to construct the queries and see the API response. We will get back to this API soon.
So let's continue by wrapping ApolloProvider around the App component and pass client as a prop.
export default function App() {
  return (
    <ApolloProvider client={client}>
    <View style={styles.container}>
      <Text style={styles.title}>My Countries App</Text>
    </View>
    </ApolloProvider>
  );
}
Step 4: HomeScreen.js
Now let's create a simple HomeScreen component to display a list of continent names that we will fetch from the API.
In the root directory, we can create a src/HomeScreen.js component as shown below:
import { Text, FlatList, Pressable } from 'react-native'

export default function HomeScreen() {
  return (
    <Text>This is my Home Screen.</Text>
  );
}
Don't forget to import our HomeScreen component in our App.js like so:
import HomeScreen from './src/HomeScreen';

export default function App() {
  return (
    <ApolloProvider client={client}>
    <View style={styles.container}>
      <Text style={styles.title}>My Countries App</Text>
      <HomeScreen/> {/*import here*/}
    </View>
    </ApolloProvider>
  );
}
Step 5: Add Query
Now let's add our GraphQL query to fetch continent names. If you're unsure how to write a GraphQL query, this countries API has a playground to test and help you write the queries.
For example, if we want to fetch a list of continent names, we can simply select the field name on the left panel. The query will automatically be shown in the middle panel.

Finally, running the query by clicking the blue button in the middle panel will allow you to view the results of the query, as shown in the screenshot above.
So let's start with creating a folder in src called gql/Query.js, where we will write all our GraphQL queries in it. The first query we will write is the CONTINENT_QUERY:
import { gql } from "@apollo/client";

export const CONTINENT_QUERY = gql`
  query ContinentQuery {
    continents {
      code
      name
    }
  }
`;
This will fetch a list of continent names and code from the countries API.
Back in HomeScreen.js, we import the CONTINENT_QUERY and a hook called useQuery to execute this query via Apollo Client.
import { useQuery } from "@apollo/client";
import { CONTINENT_QUERY } from "./gql/Query";
And we add the logic to fetch the data in HomeScreen:
- Execute the query using
useQuery - While
loadingis true, return a Text that has 'Fetchind data...' - Return a FlatList component that displays all the continent names
export default function HomeScreen() {
  const { data, loading } = useQuery(CONTINENT_QUERY); //execute query

  const ContinentItem = ({ continent }) => {
    const { name, code } = continent; //get the name of continent

    return (
      <Pressable>
        <Text>{name}</Text> //display name of continent
      </Pressable>
    );
  };

  if (loading) {
    return <Text>Fetching data...</Text> //while loading return this
  }

  return (
      <FlatList
        data={data.continents}
        renderItem={({ item }) => <ContinentItem continent={item} />}
        keyExtractor={(item, index) => index}
      />
  );
}
And now, we can test our app by running:
expo start
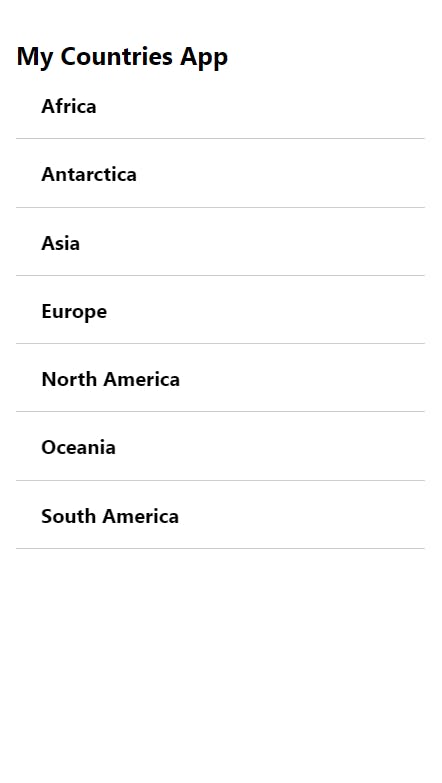
We should have a list of continents being fetched and displayed!
Conclusion
Thanks for reading! I hope this has been helpful to get you started working with GraphQL APIs on React Native apps.
Before we wrap up this tutorial, if you would like a challenge, how about try to add more queries such as fetching names of the countries under each continent?
Here's my example! Code will be in this repo for your reference.
Ultimately, practising and building projects will help you to be more familiar with Apollo Client, GraphQL and React Native. Please do not hesitate to leave questions, share this article and refer to the References section below for more reading. Cheers!
Comments
Post a Comment
Thank You.